




Reducing light pollution starts with a practical question: which light is needed, where, and for how long? A city can replace inefficient lamps and still send unnecessary light into a river corridor, bedroom window or night sky. Energy efficiency and environmental control overlap, but they are not the same result.
For a roadway or public-space project, the goal is to support the real nighttime task while retaining darkness elsewhere. That takes more than choosing a warmer lamp. Source location, optical distribution, mounting, output, spectrum and operating schedule all influence the environment people and wildlife experience.
This guide explains those decisions and links to the technical work behind them. The examples are design scenarios, not claims about measured LEOTEK installations. A useful project record should let the owner distinguish a design intention from a verified change.
What light pollution actually describes
Light pollution is human alteration of the natural outdoor light environment. It can occur close to a source or well beyond the site that owns it. Four familiar descriptions help identify different problems, although they can occur together.
| Condition | What to look for | A useful first question |
|---|---|---|
| Skyglow | A brighter sky resulting from artificial light scattered in the atmosphere. Both upward emission and reflected light can contribute. | Which sources and directions contribute, and under what sky conditions? |
| Light trespass | Light reaching a place where it is unwanted, such as a window or protected habitat edge. | Where is the receiving point, and which source reaches it? |
| Glare | A bright source or contrast that causes discomfort or reduces visual performance in the viewing situation. | From whose position and viewing direction is it a problem? |
| Unnecessary operation | Light provided outside the place or period needed for a defined task. | What activity requires this source to remain on? |
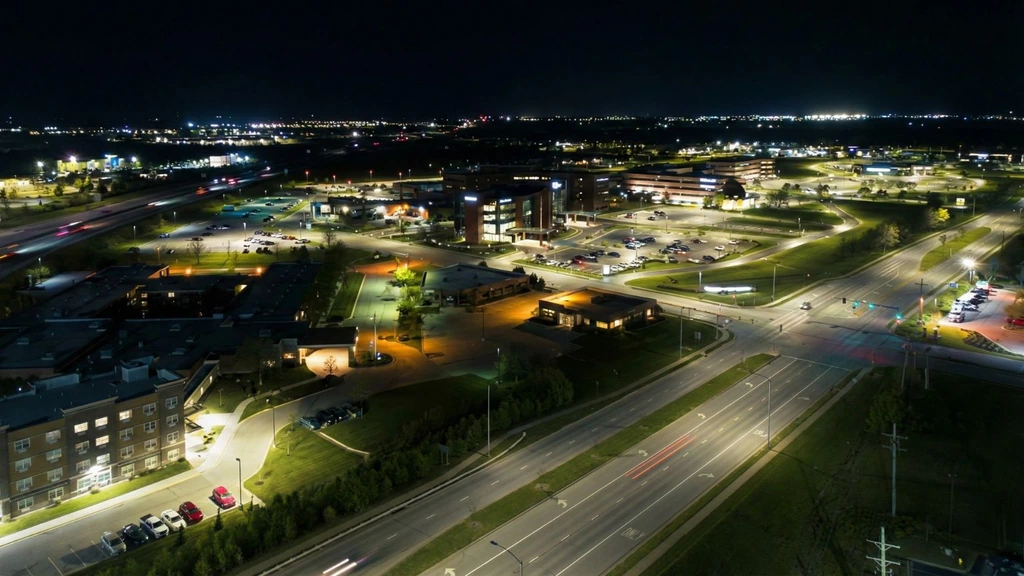
A photograph can help locate these conditions, but it cannot establish all of them quantitatively. Automatic camera exposure can make two nights look similar when they are not. A bright-looking lens in an image is not a calibrated glare assessment, and a satellite image cannot identify every source contributing to a local habitat exposure.
Start with the task, before selecting the fixture
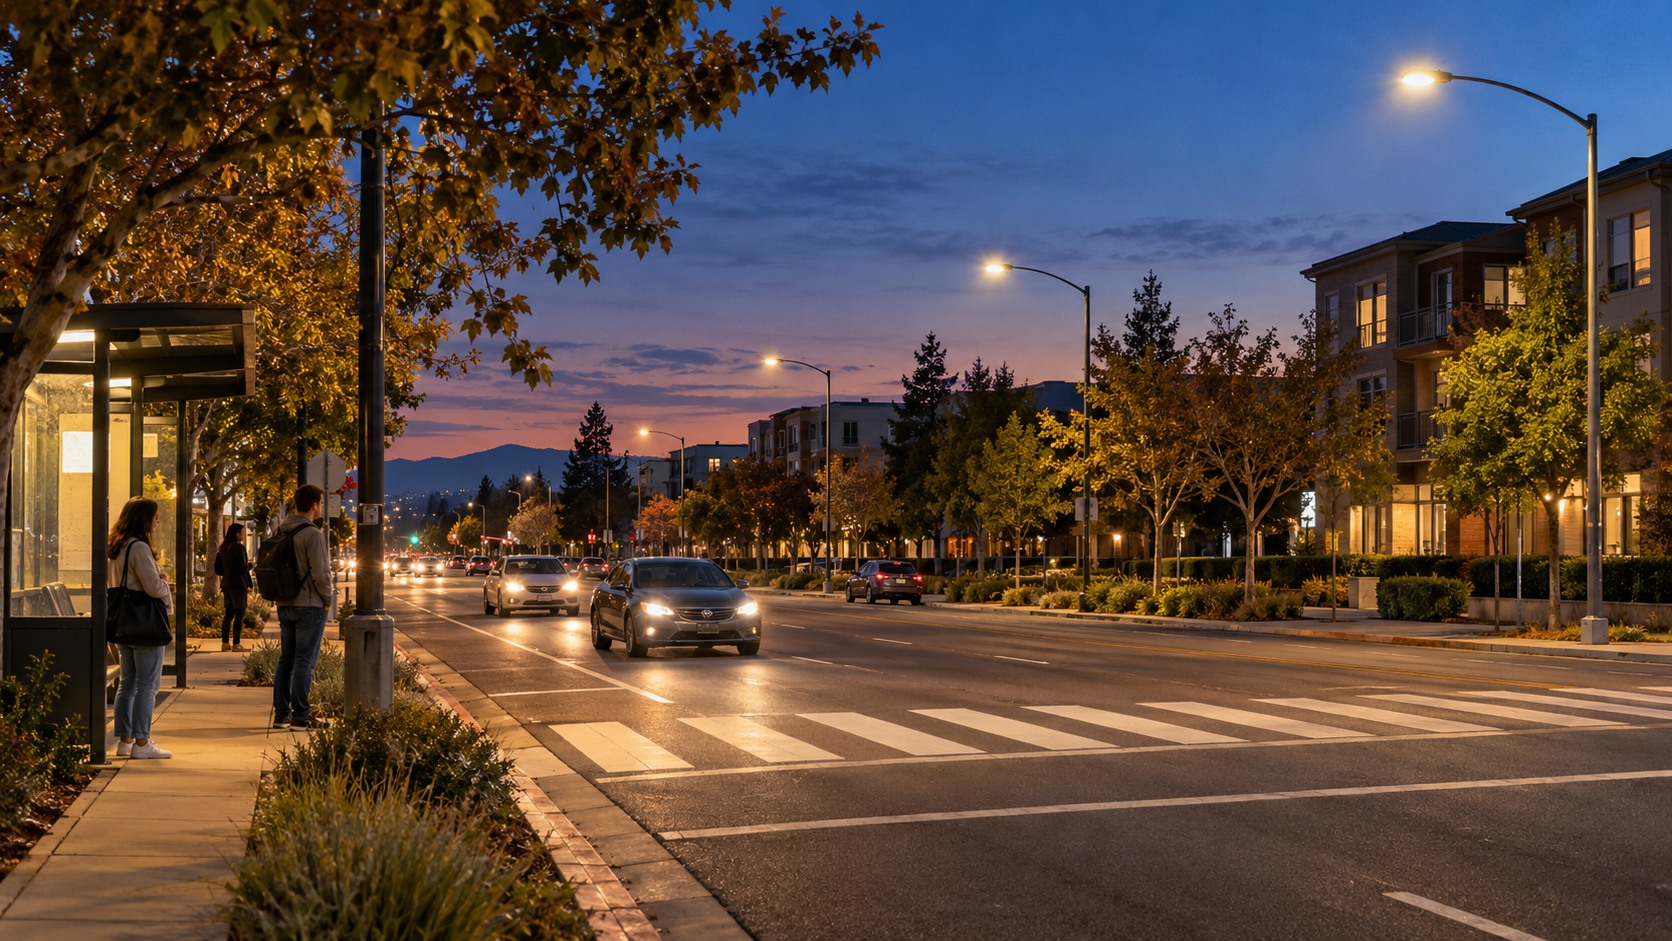
“The site needs lighting” is too broad a design brief. A crossing, parking aisle, building entrance and riverside habitat edge have different purposes. Mark the required task areas on a plan, identify their users and operating periods, and mark the places where additional light is undesirable.
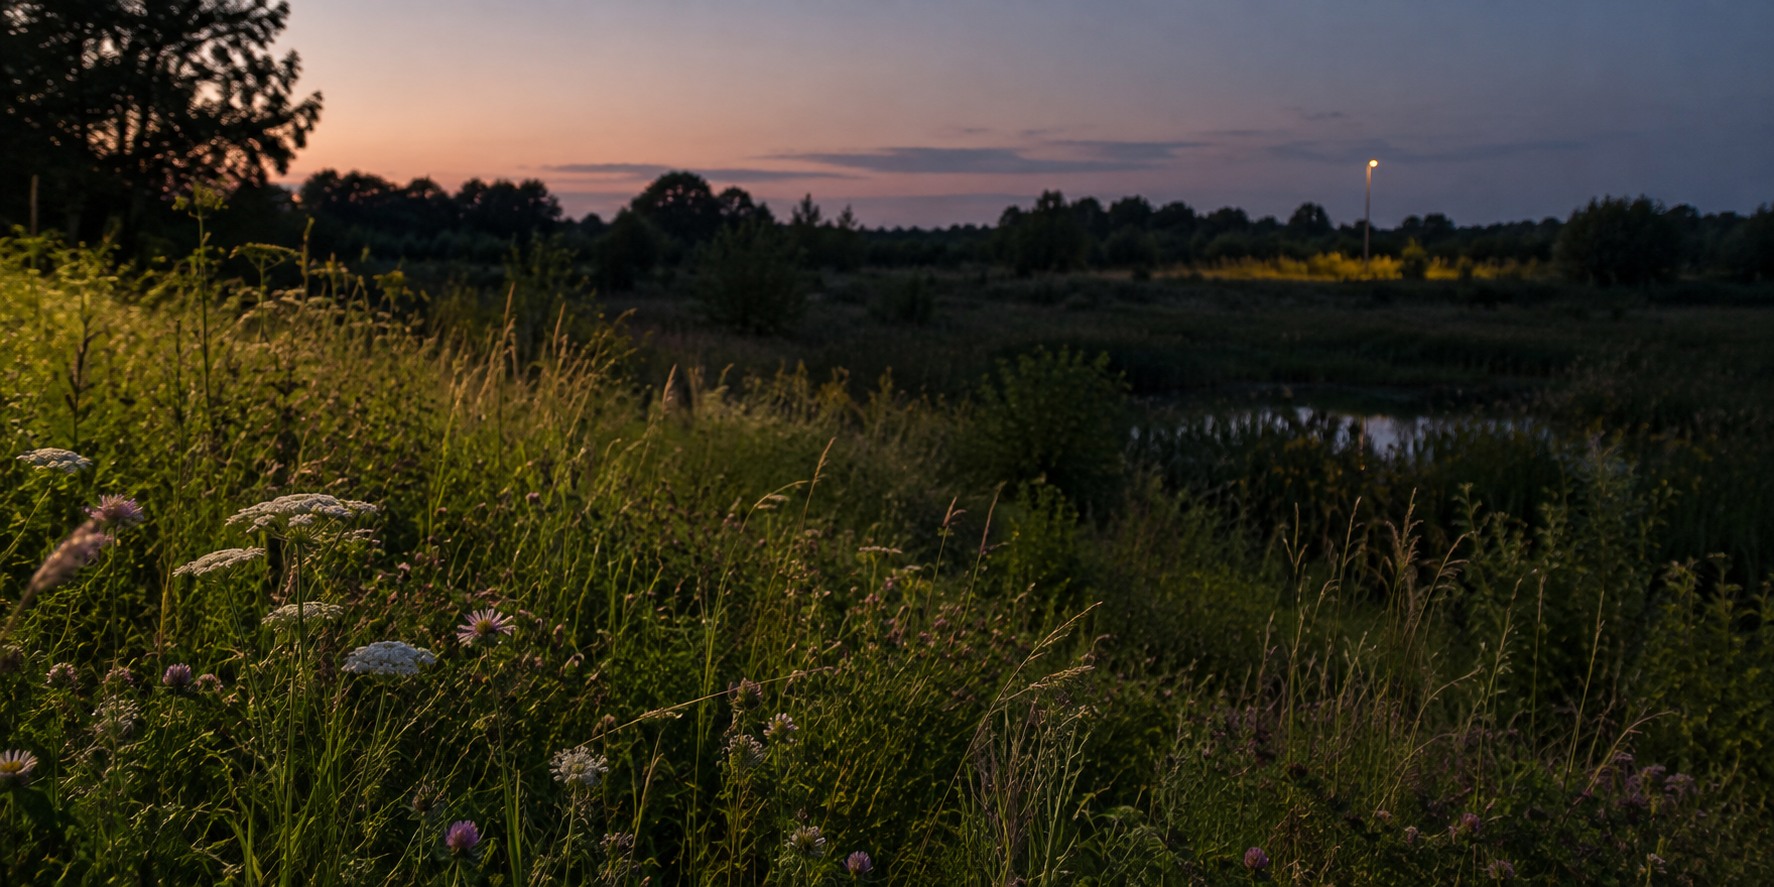
Consider an illustrative path beside a river. There may be a valid need to light a busy crossing while the riverside route closes overnight. Treating both as one control zone can leave the closed route illuminated because the crossing remains open. Separating the tasks creates options: retain the crossing function, change the path schedule, reposition a source, or avoid a new source entirely.
This is why an inventory should record ownership and operation as well as lamp type. A municipal streetlight, commercial sign and building floodlight may all be visible from the same riverbank. Replacing one cannot establish that the combined exposure has been resolved. The ecological lighting site-assessment guide explains how to turn that inventory into a usable decision record.
Five principles become five design decisions
DarkSky International and the Illuminating Engineering Society organize responsible lighting around purpose, direction, level, control and color. Their official artwork provides a shared vocabulary. The engineering work is to connect each principle to the particular site, rather than place a general environmental label on a fixture.
On small screens, swipe the diagram sideways to read its labels, or open the full-size image below.
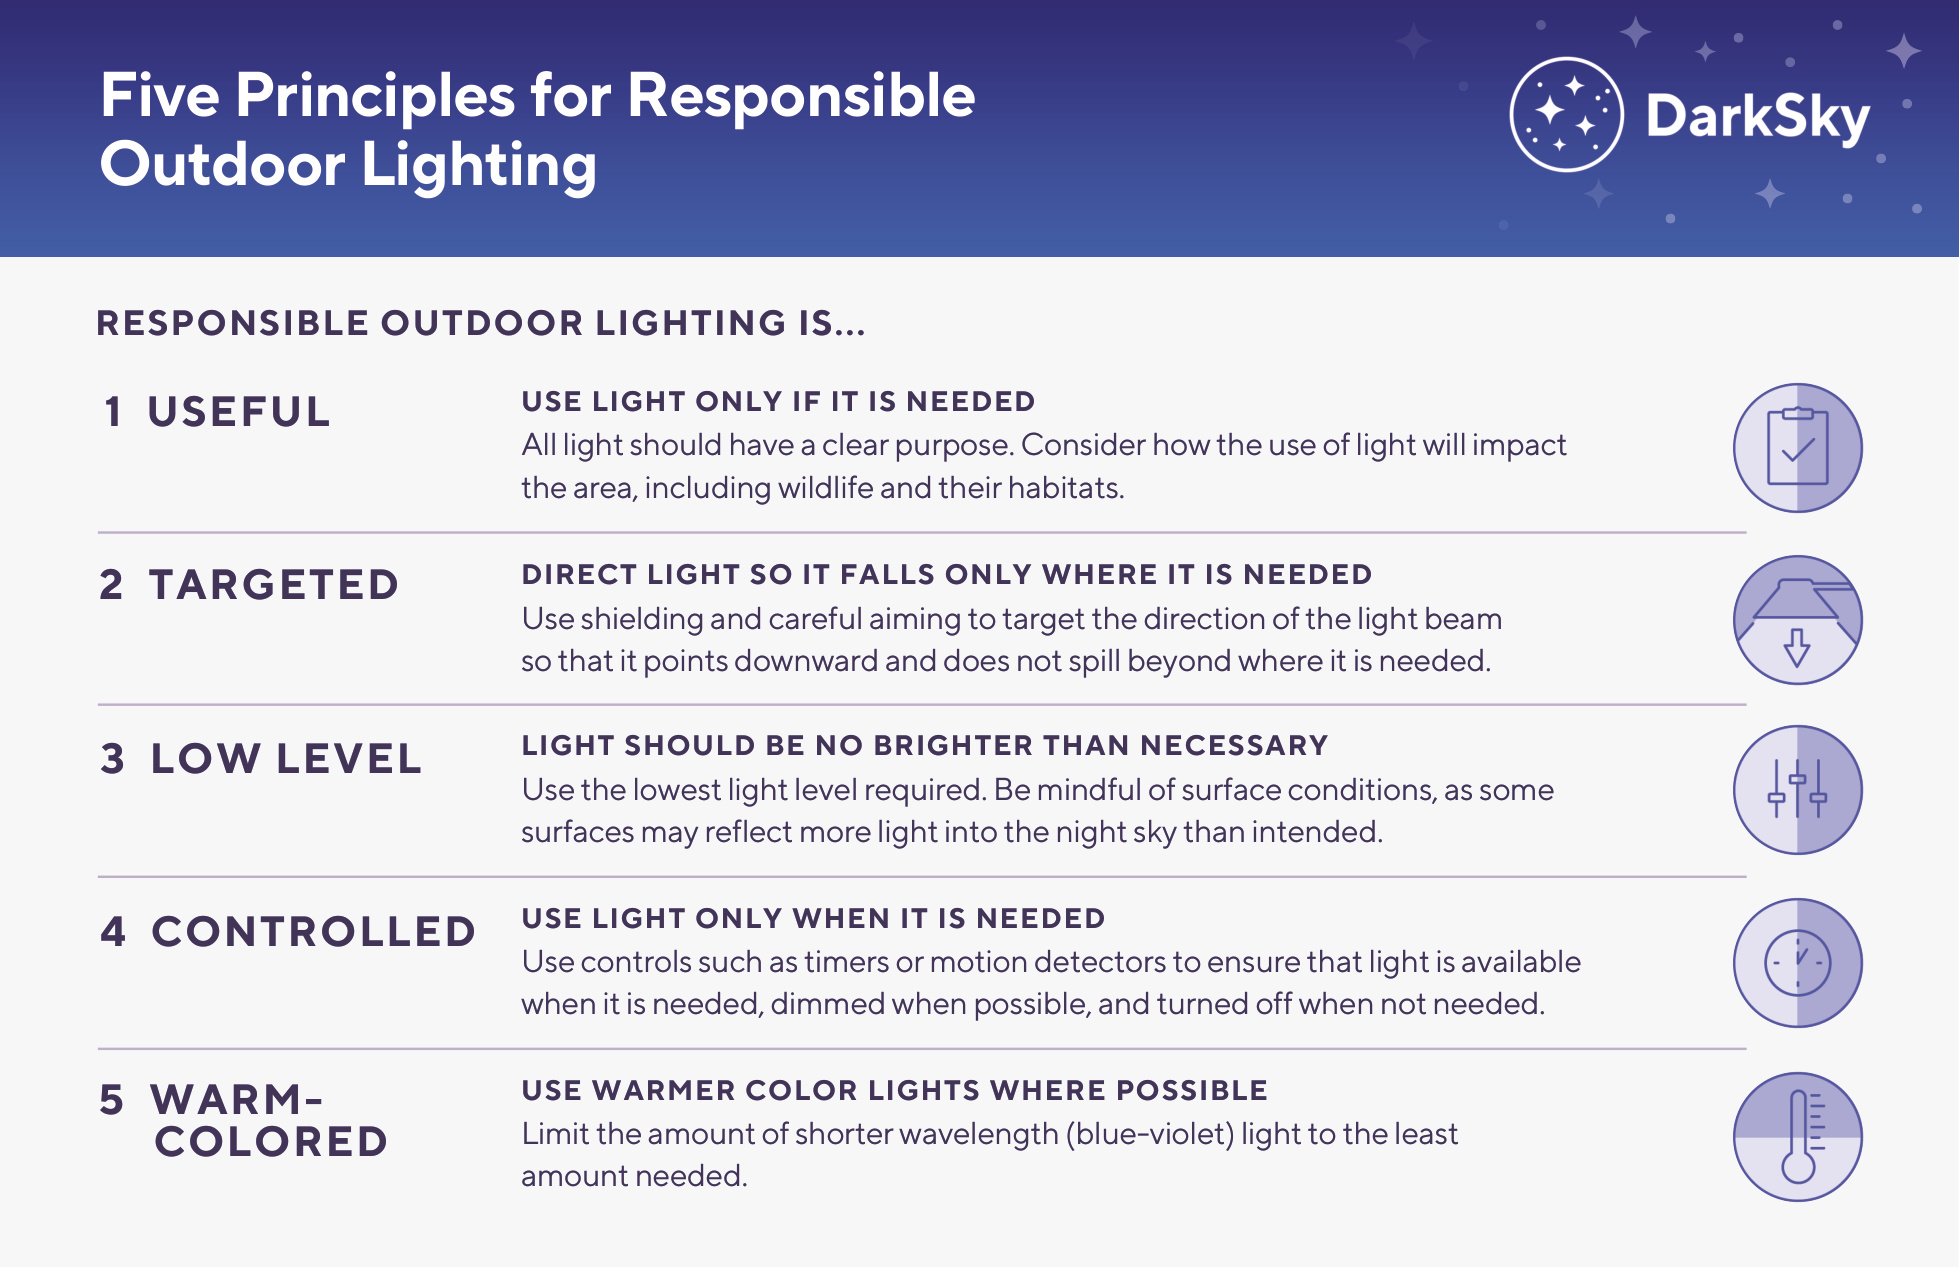
Open full-size diagram
Purpose: establish the activity the light supports. An obsolete sign or closed service area may not need continuous illumination. Removing an unnecessary source addresses its contribution directly; changing its color does not remove that contribution.
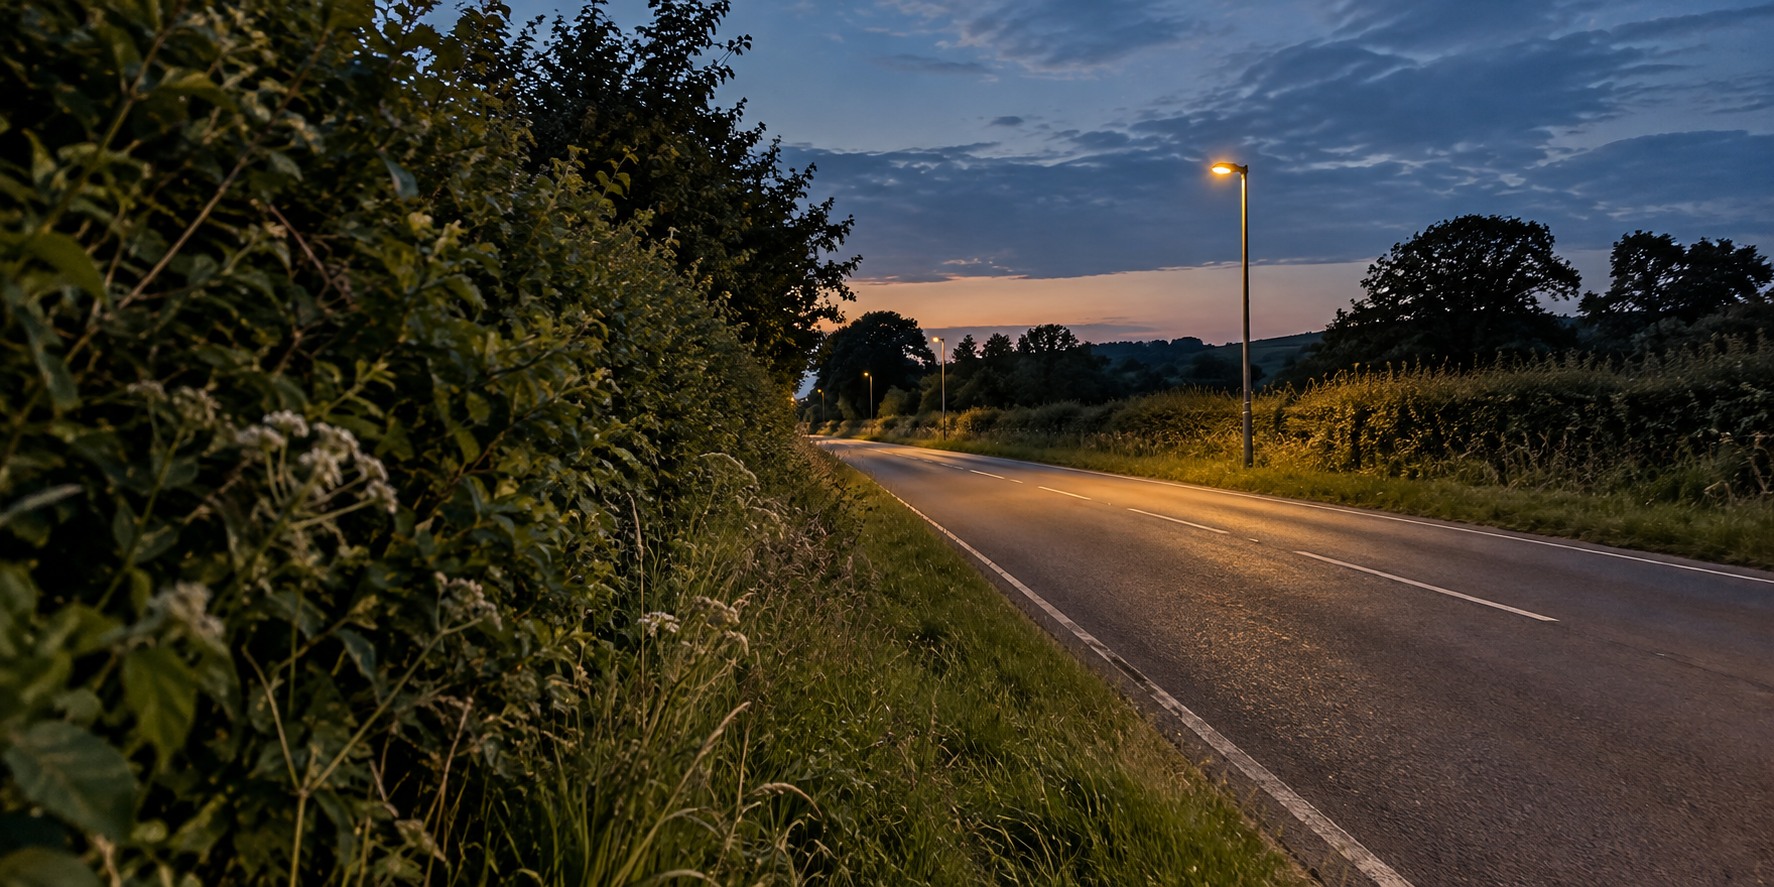
Direction: put light on the task and inspect the receiving side. An optic or shield that looks appropriate in a catalog may perform differently when the luminaire is tilted, mounted on sloping terrain or visible from a lower riverbank. Review the installed geometry, including direct views toward luminous surfaces.
Level: use the output required by the adopted design criteria and actual task. More output can increase spill and reflection without addressing the reason a location is difficult to use. The responsible designer should evaluate the relevant light levels, distribution, uniformity and glare together.
Control: match operation to use. Establish when a zone dims, switches off or responds to activity; identify exceptions and how normal operation resumes. A schedule that exists only in a design narrative cannot be checked by maintenance staff.
Color and spectrum: review the exact source configuration when wavelength content matters. Warmer appearance can be a useful consideration, but it does not establish the complete spectrum or the response of every organism. The spectrum should be part of the evidence package, alongside direction, amount and time.
Why wildlife exposure is more than a Kelvin number
Natural darkness is part of habitat. Artificial light can change when organisms emerge, where they travel and how they interact. The Australian Government’s 2023 wildlife guidelines discuss these pathways across marine turtles, birds, bats, terrestrial mammals and ecological communities. Their species context matters: an effect observed in one organism or experimental setting is not a universal threshold for all outdoor lighting.
For a project team, it helps to separate three questions. What does the source emit? What reaches the relevant habitat, at what time? What evidence connects that exposure to a response in the organisms of concern? A product spectrum answers the first question more directly than the second or third.
On small screens, swipe the diagram sideways to read its labels, or open the full-size image below.
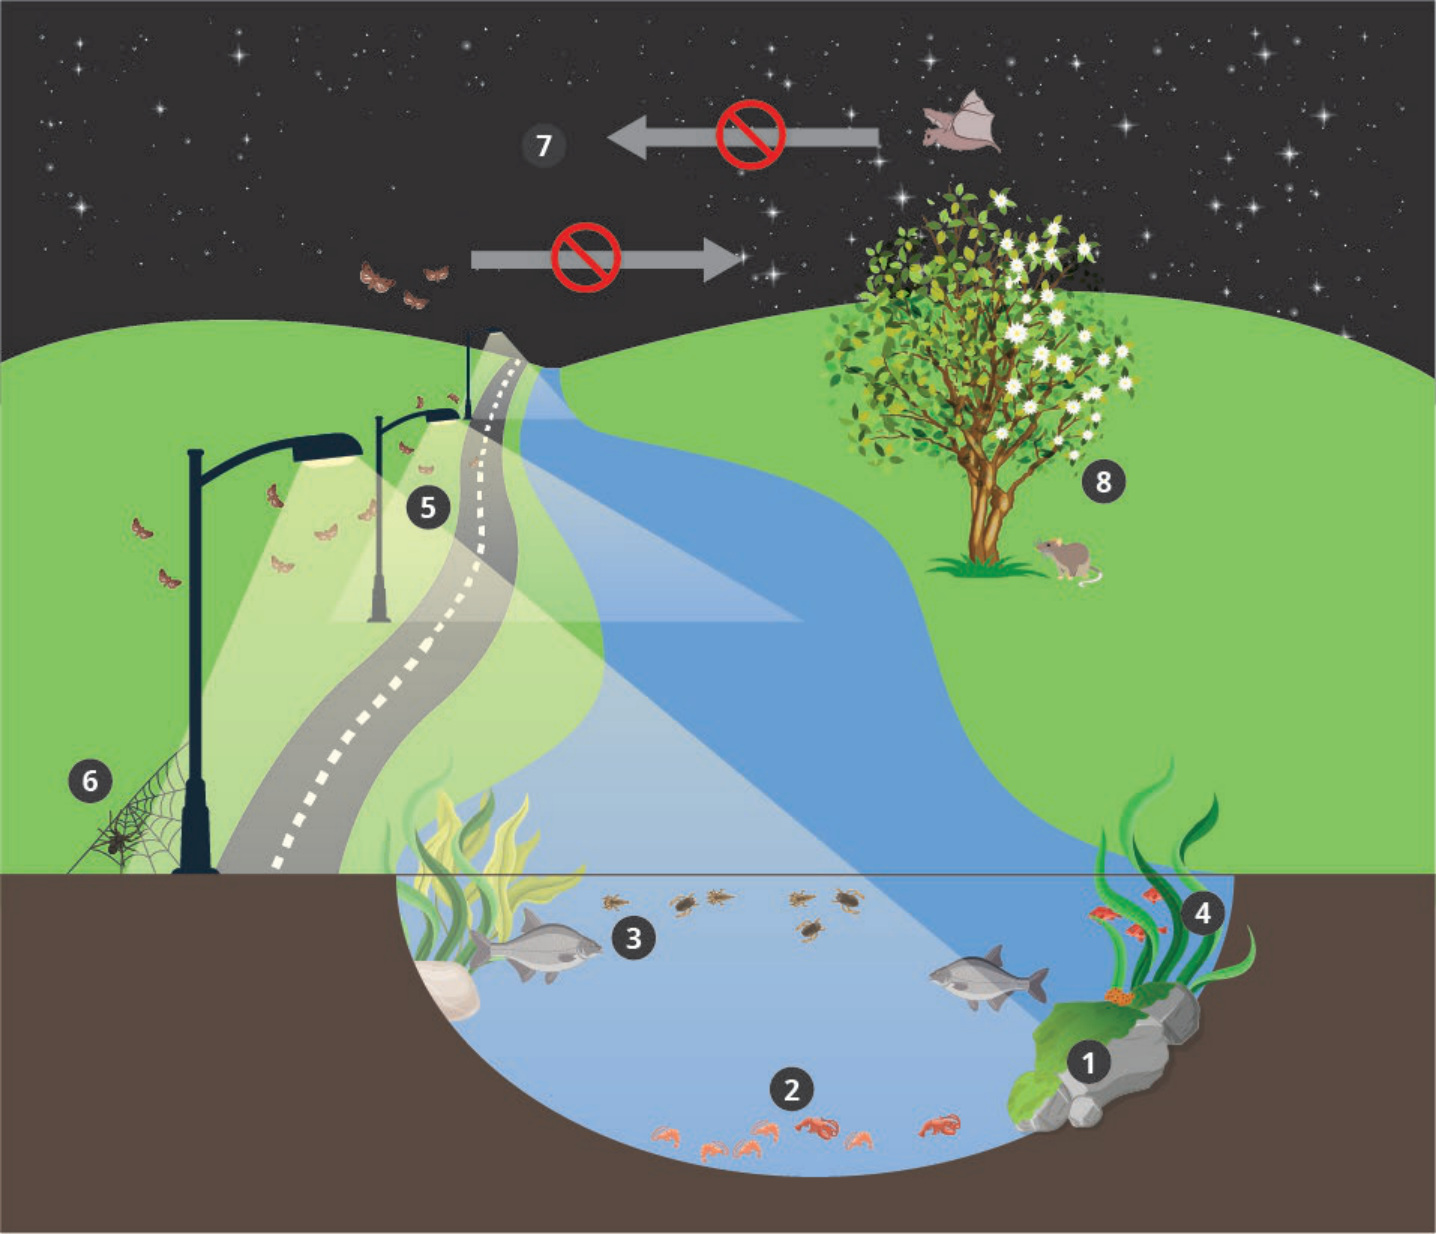
Open full-size diagram
How to read this diagram: the food-web illustration links changes in light with movement, prey, pollination and seed dispersal. It is a conceptual synthesis of interacting pathways, not one experiment measuring the entire ecosystem. The project implication is to identify which pathway is relevant locally and select monitoring accordingly. Counting insects near a lamp, for example, does not by itself measure pollination success across the landscape.
The guidelines also distinguish human-weighted photometric measurements from spectral measurements relevant to wildlife. A lux meter is useful for its intended task, but its response is not a universal animal-vision model. Reporting a small lux value without the source spectrum, measurement position and operating period can leave the most important exposure question unanswered.
What CCT can tell you—and what to request next
Correlated color temperature describes the apparent color of white light. Spectral power distribution, or SPD, describes output across wavelength. Different spectral combinations can produce similar apparent color, so a CCT label is not a complete spectral specification.
Ask whether an SPD is relative or absolute, which assembled luminaire it represents, and which drive or dimming state was tested. A curve normalized to its highest point is useful for shape, but the height of that curve cannot tell you how much total radiant power reaches the environment. Even an absolute source spectrum still needs installation geometry to describe exposure at a receiving point.
For the procurement distinction, read SPD versus CCT. For the calculation itself, use how blue-light content is measured, which explains wavelength bands, denominators and why two percentages may not be comparable. Neither article establishes a single wildlife-safe color temperature.
Protect a connected dark area, not just isolated points
A habitat plan may need a continuous darker route between refuge and feeding areas. Keeping one measurement point dark does not establish that an animal can travel through the route: another source may interrupt the connection a short distance away.
Review the protected area as a connected space. Include entrances to refuges, vegetation edges, water margins and changes in elevation where these are relevant to the ecological assessment. Inspect the direction from which the source is seen, rather than relying only on downward calculations over the task surface.
There is no universal buffer width in the illustrations used here. The relevant boundary depends on habitat evidence, terrain, installed light distribution and the project review. The dark-corridor and buffer-zone guide explains how spatial controls and curfews work together.
Time is a design variable
A reduction after midnight may save operating hours while missing a sensitive period just after sunset. Conversely, an ecological concern does not automatically mean every light can be switched off. The sequence should reflect both the documented activity of interest and the necessary human task.
Use zones and explicit states. Identify ordinary operation, a seasonal profile, a temporary override and the fallback after a communications or sensor failure. Assign an owner who can inspect the settings and restore the approved profile after maintenance. Seasonal schedules need review dates and records, not an annual assumption that last year’s dates remain appropriate.
The seasonal dimming guide develops that operating record. Its diagrams explain timing and ecological cues; they are not evidence that a particular dimming percentage guarantees a biological outcome.
Verify the installed condition
Before construction, agree on what will be checked afterward. Record fixed observation locations, measurement planes and orientations, instruments, units, source states and environmental conditions. A report is much easier to interpret when another team can return to the same points without guessing.
A before-and-after comparison should hold important conditions consistent or explain the differences. Moonlight, clouds, wet surfaces, seasonal vegetation and neighboring lights can affect results. Keep the raw readings and repeatable photographs with the summary, including observations that do not fit the expected improvement.
A measured reduction at a boundary is a lighting result. A change in wildlife activity or ecological condition is a separate result requiring an appropriate study. Neither should be substituted for the other. The before-and-after monitoring guide explains this distinction and the evidence needed for a useful comparison.
Carry the decisions into procurement and maintenance
The specification should identify the exact configuration being reviewed, the relevant drawings and photometry, spectral documentation where needed, the control sequence and the acceptance responsibilities. Requiring a generic “eco-friendly” luminaire leaves too much unresolved.
Changes after installation deserve the same attention. A replacement with another optic, a missing shield, a new aiming angle or an extended schedule can alter the condition that was accepted. Keep the approved configuration and operating profile with the asset record, and state which changes trigger another review.
The public-project ecological lighting specification guide turns these points into submittals and closeout records. It connects the environmental objective to something the designer, bidder, installer and owner can each verify.
Questions project teams ask
Does an efficient LED automatically reduce light pollution?
No. Efficiency describes useful output relative to electrical input under a stated basis. Light pollution also depends on where light goes and when it operates. A retrofit can reduce electricity use while adding output, spill or operating hours. Evaluate those outcomes separately against a documented baseline.
Is a warmer source enough?
No. Review the actual SPD where spectrum matters, and address the amount, direction and duration reaching the receptor. A warm source aimed into habitat can still create unwanted exposure. Species-specific evidence and project criteria determine how the spectrum is assessed.
Should every dark area receive the same lighting limit?
No. Define the task, habitat, measurement geometry and applicable criteria first. A single value detached from its receiving plane, instrument and operating state is difficult to interpret and may answer the wrong question.
What is the most useful first deliverable?
A common site plan showing necessary tasks, existing sources, protected areas, operating periods and unresolved decisions. It gives the lighting designer, ecological reviewer and owner a shared basis for comparing alternatives before equipment is purchased.
Sources and further reading
- Australian Government DCCEEW, National Light Pollution Guidelines for Wildlife, Version 2.0 (2023). Figure and appendix references are identified beside the relevant discussion. This is Australian technical guidance, not a U.S. roadway standard.
- DarkSky International and Illuminating Engineering Society, Five Principles for Responsible Outdoor Lighting.