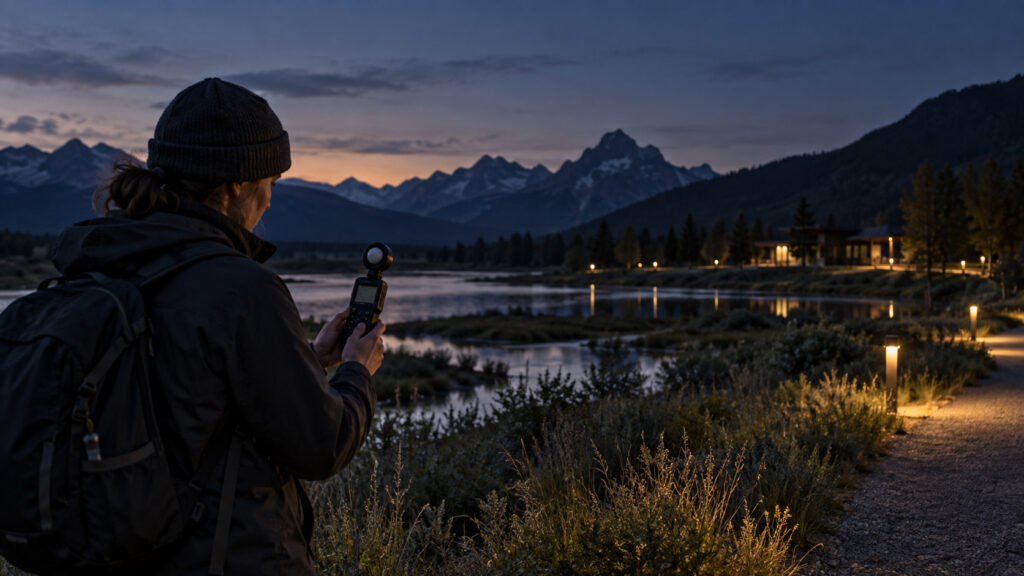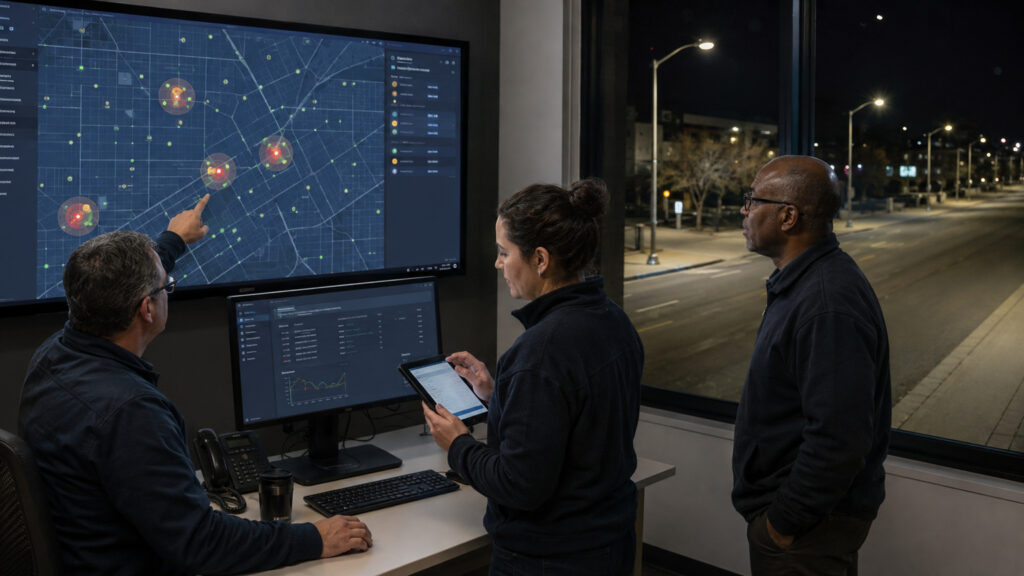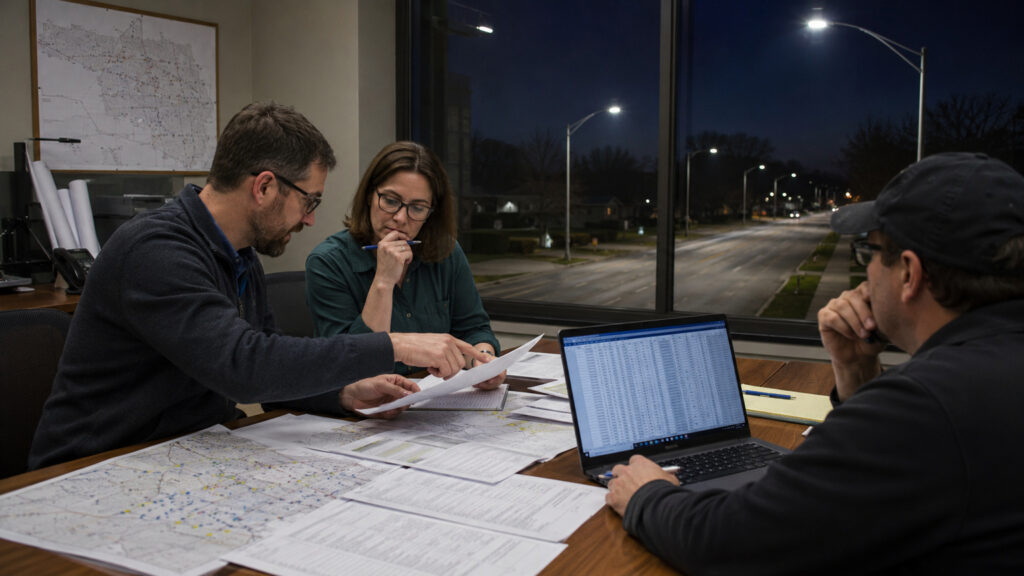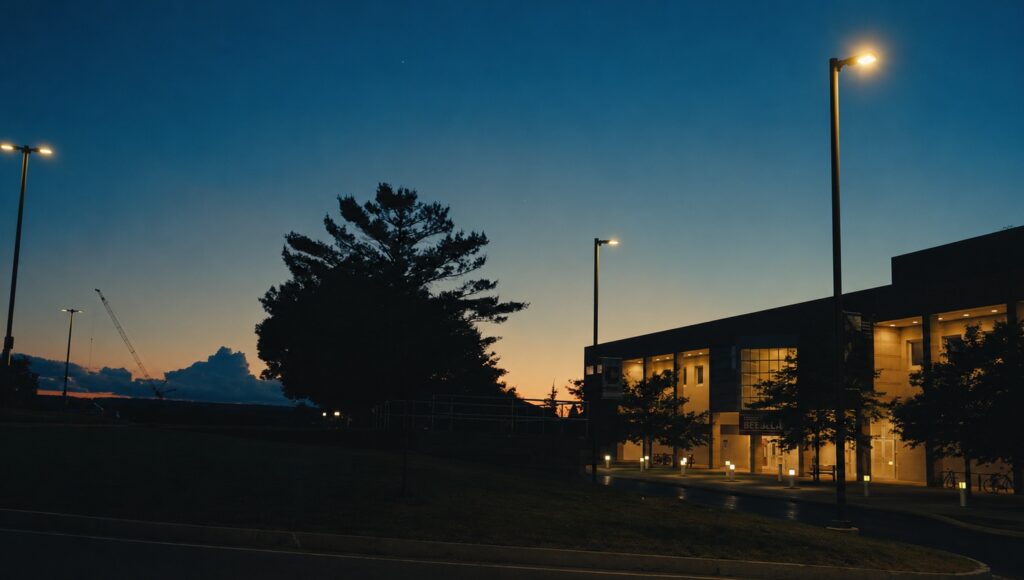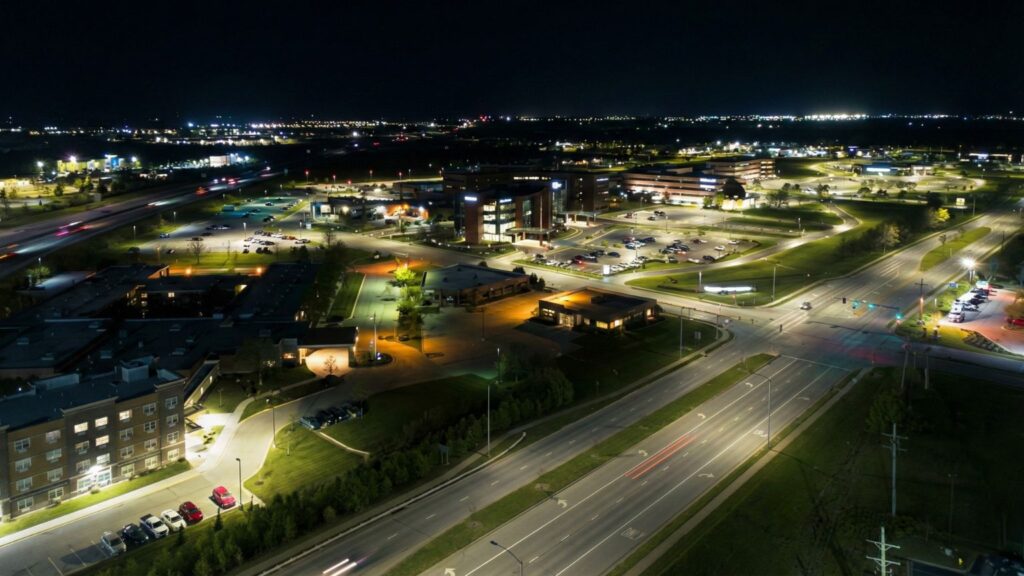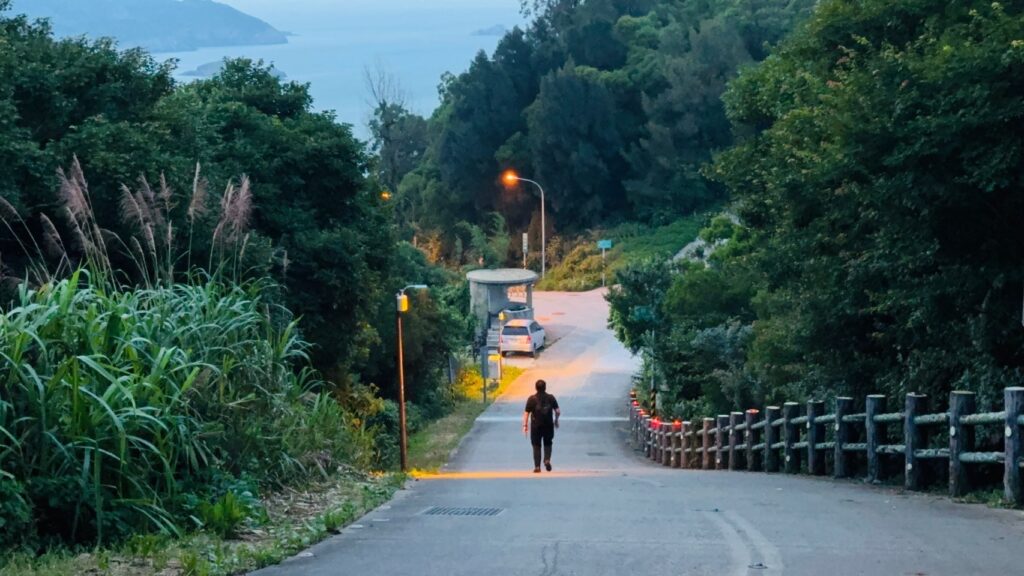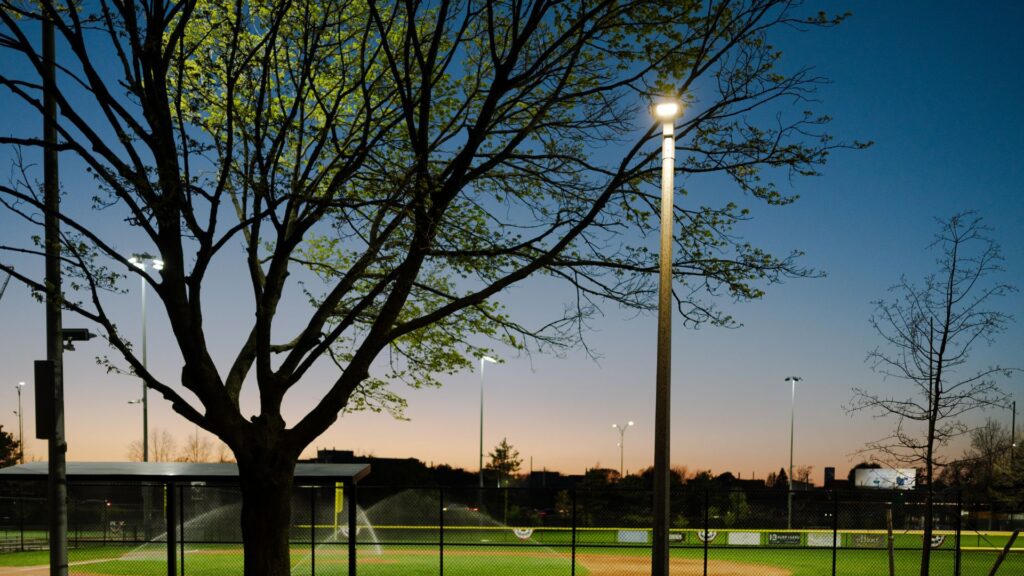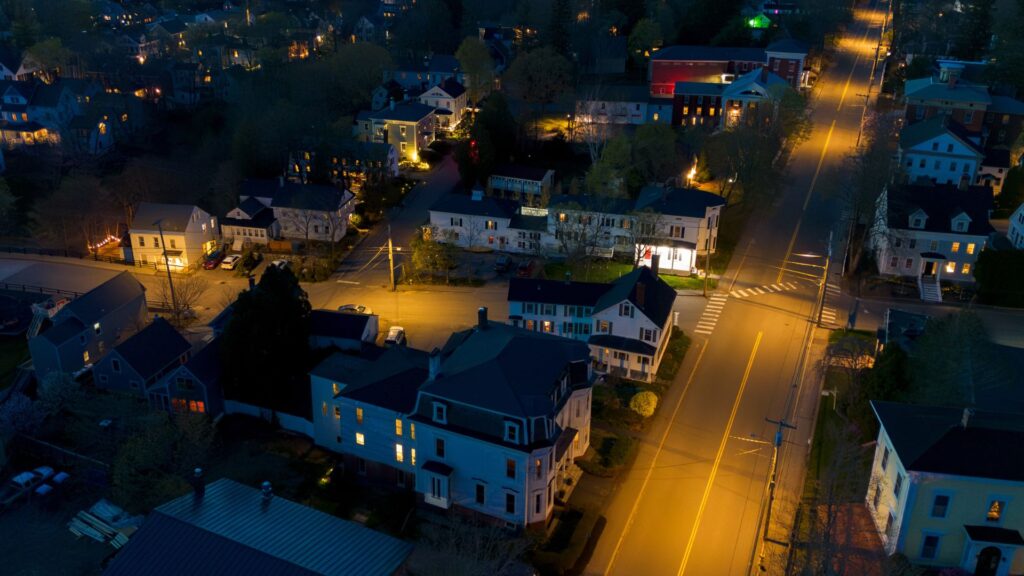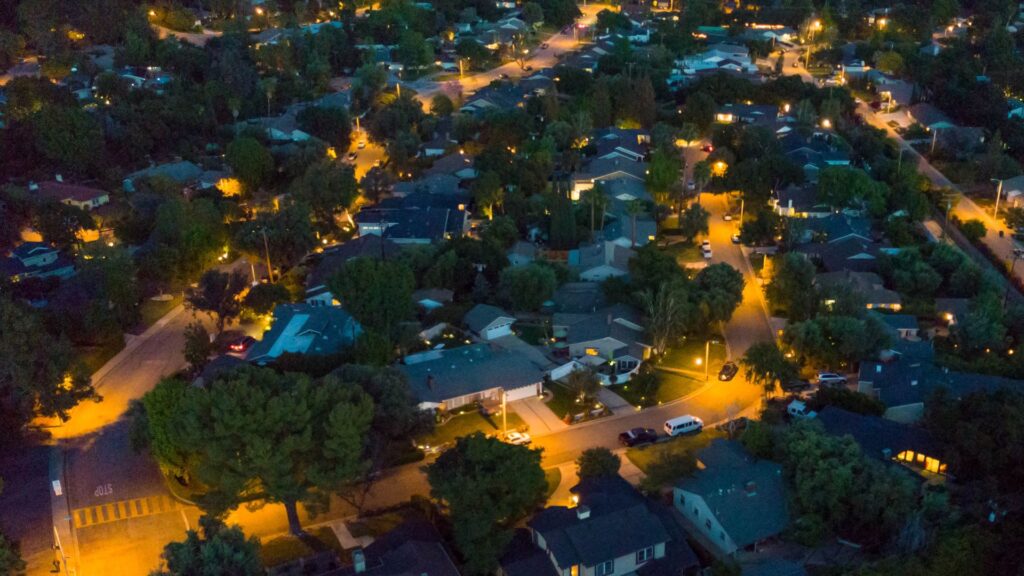

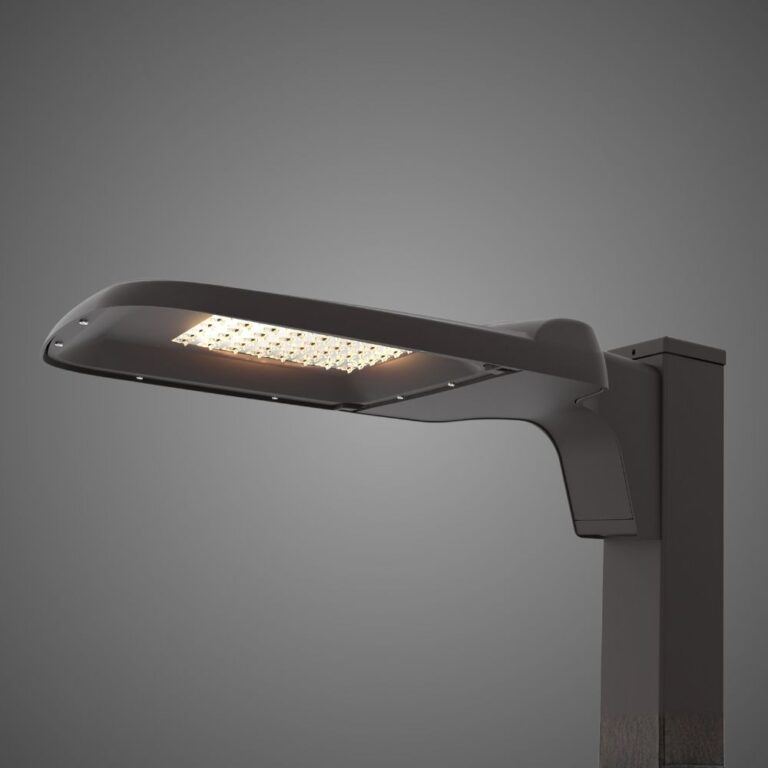
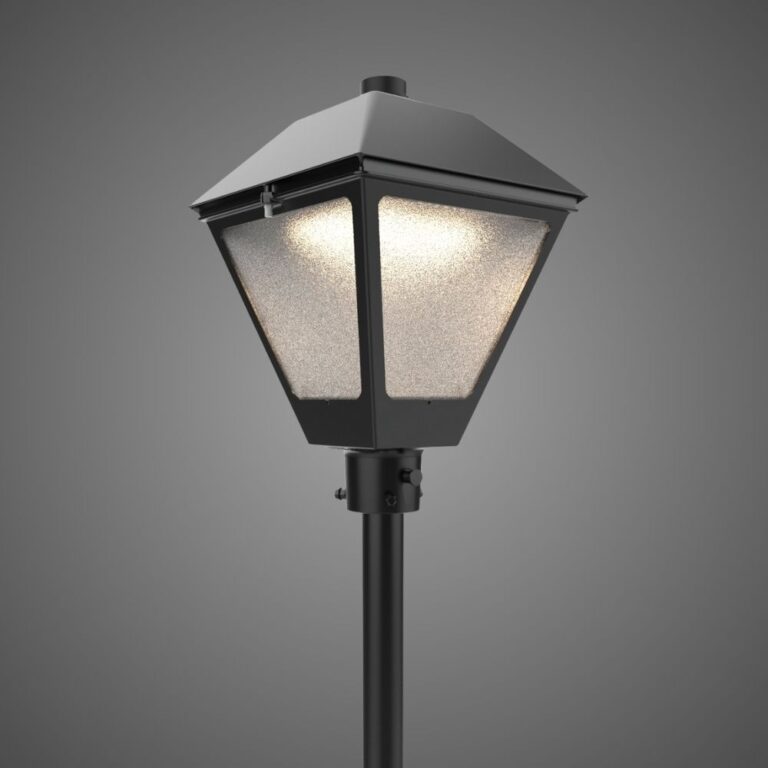

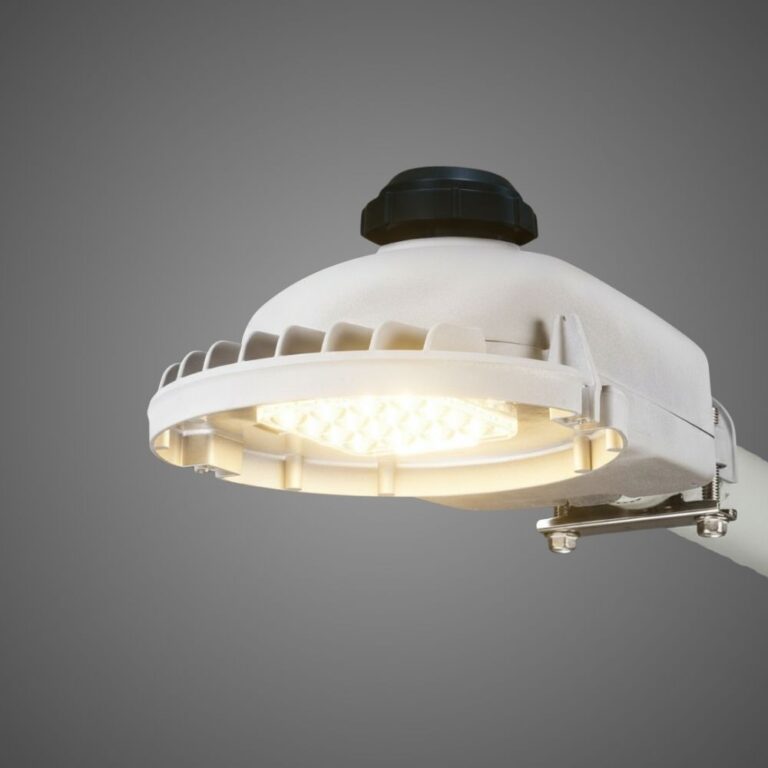
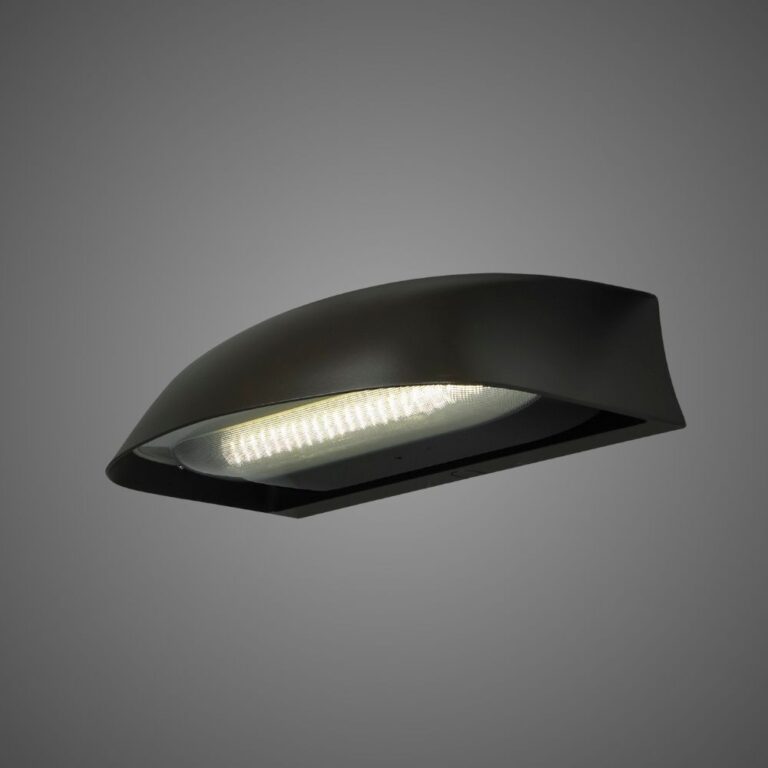


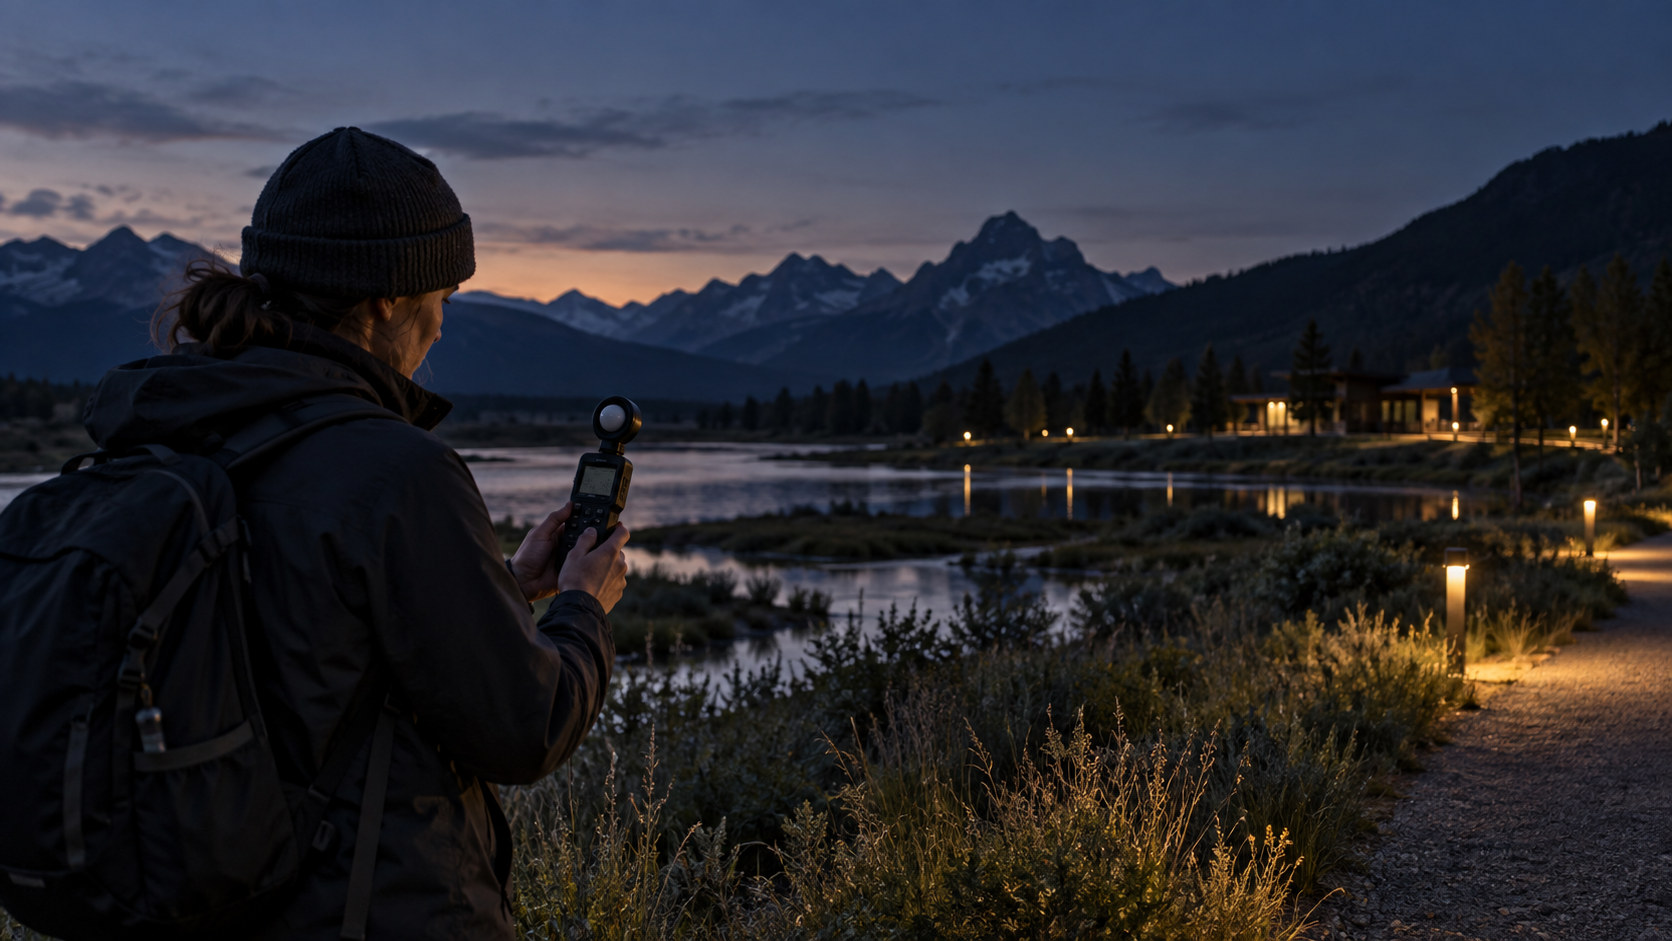
Ecological lighting monitoring is a before-and-after lighting assessment built on a comparable baseline: measure the same places with the same method, record operating and environmental conditions, then repeat the work after installation. The result can show how lighting conditions changed, but it cannot by itself prove a wildlife or habitat outcome.
For a city or transportation agency, that distinction matters. A roadway project may need to maintain a necessary nighttime function while documenting light near a sensitive habitat, park edge, waterway, or community boundary. The useful question is not simply, “Is the site brighter?” It is: what changed in intensity, distribution, spectrum, direction, timing, and the conditions under which each observation was made?
A practical six-step field method:
1. Define the assessment question and fixed locations.
2. Record operating and environmental conditions.
- Measure intensity, distribution, spectrum, direction, timing, and sky conditions as relevant.
- Repeat the documented method after installation.
- Record deviations and confounding conditions.
- Separate measured change from an ecological conclusion.
This is a practical documentation framework, not a universal engineering or ecological-monitoring protocol.
Key takeaways
- Establish fixed measurement points and a written field method before installation begins.
- Record the lighting operating state and environmental conditions with every visit, not just the meter reading.
- Measure more than brightness: document distribution, spectrum or spectral method, direction and spill, timing, and sky conditions where relevant.
- Repeat the same protocol after installation, and report deviations that could affect comparison.
- Treat an ecological outcome as a separate question requiring an appropriate monitoring design and qualified ecological review.
Start with the decision and a site map
Before choosing instruments or scheduling a night visit, define the decision the assessment is meant to inform. A transportation agency might be comparing conditions at a habitat-adjacent road segment before and after a lighting replacement. A city might be documenting whether a revised layout changes light reaching a park boundary. A utility or public-works team might need a record that supports later design review.
Keep the purpose narrow. “Assess lighting conditions at defined roadside locations” is a measurable purpose. “Demonstrate that the installation protects wildlife” is not, unless the project also has a species- and habitat-specific ecological monitoring plan with the appropriate expertise and evidence.
Build a map that can be revisited
Create a site map with location IDs that a second field team can use without guessing. Include the roadway or facility boundary, luminaires and other known light sources, measurement points, photo directions, and relevant physical features such as a water edge, tree line, trail, or property boundary. Record coordinates where project practice allows, and follow applicable agency data-governance practices for sensitive habitat information.
Consider these location types when they fit the assessment question:
- Affected points where the proposed or new lighting is expected to change conditions.
- Boundary or receptor points where spill, vertical light, or glare may matter to the project question.
- Reference points that are unlikely to be affected by the installation but can help reveal broader changes in weather, sky brightness, or nearby activity.
Reference points are not a substitute for a formal control site. They are simply a way to make the record more interpretable. If the site is complex, a qualified lighting professional can help determine the measurement geometry and sampling plan appropriate to the project.
Record the existing lighting state
The baseline should describe what was operating, not just what equipment was installed. At each visit, record the observed luminaire status, dimming state if visible or available from project records, scheduled operating period, controls state, and nearby sources such as building, parking, sign, or vehicle lighting. Note outages, temporary construction lighting, and unusual activity.
This record prevents a common comparison error: treating two readings as equivalent when one was taken during a different operating schedule. It also keeps the article focused on documentation rather than assuming that a fixture, controller, or technology behaves a particular way.
For broader context on the problem being documented, readers can review understanding light pollution. The measurement plan, however, should remain specific to the site and decision.
Build a comparable outdoor-lighting baseline survey
Comparable does not mean identical. Outdoor conditions change. It means that the method either holds important conditions steady or records them well enough that the project team can judge their effect on the comparison.
Use one field sheet for every visit
A consistent field sheet makes the baseline repeatable. It should capture the following for each location and observation period:
| Field | Why it belongs in the record |
|---|---|
| Location ID and map reference | Lets later teams return to the same point and orientation. |
| Date, local time, and time zone | Links observations to operating schedules and nighttime conditions. |
| Observer and method | Makes the record auditable and reveals method changes. |
| Instrument, serial or asset ID, settings, and calibration status | Helps determine whether readings can be compared. |
| Luminaire and nearby-source operating state | Explains what light was present at the time of measurement. |
| Weather, cloud cover, visibility, surface condition, and moon condition | Identifies conditions that can alter observations. |
| Photographs and camera settings | Provides a repeatable visual record rather than an unsupported impression. |
| Access limits or deviations | Keeps limitations visible in the final comparison. |
The table is a project-record template, not a universal standard. The appropriate instrument, calibration procedure, and reading geometry depend on the assessment question and applicable agency or jurisdictional requirements.
Choose conditions deliberately
Sky-brightness work illustrates why conditions belong in the record. DarkSky’s night sky quality survey guidance calls for clear, open sky, no cloud cover, the moon below the horizon, and astronomical darkness for its sky-quality method. It also advises taking repeated readings, discarding the first, and reporting all measurements.
Those instructions do not create a complete roadway ecological-lighting protocol. They do show the value of defining conditions before fieldwork starts. If a project uses a sky-quality meter, follow the applicable method and report the actual conditions. Do not take a reading directly beneath a light source or an obstruction and then treat it as a representative sky measurement.
For other lighting observations, decide in advance which variables must be consistent and which must simply be recorded. A baseline may need a comparable time window, a stable lighting schedule, and an agreed observer position. A project team should also establish how it will handle an unavoidable deviation, such as cloud cover or an adjacent source that cannot be switched off.
Measure the lighting conditions that can change
A single illuminance or sky-brightness value rarely answers the full assessment question. The measurement set should match the decision, while keeping claims proportional to the evidence collected.
Intensity and distribution
Measure light at defined points and planes that relate to the site question. For example, a roadway or path assessment may use a project-specific horizontal plane, while a boundary or habitat-edge question may call for a different geometry. Record units, meter settings, sensor orientation, height, and location for every reading.
Avoid deriving one quantity from another without the necessary geometry and photometric information. A measured value at a point describes conditions at that point. It does not establish a corridor-wide condition, a product specification, or an ecological effect.
The International Commission on Illumination’s Guide to the lighting of urban areas notes that urban-lighting considerations extend beyond luminance and illuminance to glare, color, environmental effects, and the lighting equipment in its setting. The guide is not a current U.S. roadway design requirement, but it supports a multi-factor record rather than a one-number assessment.
Spectrum and color characteristics
If spectral characteristics are part of the decision, document the instrument and output actually measured. Correlated color temperature can be a useful descriptive value, but it does not fully characterize a spectrum. Do not use a Kelvin value alone to infer a species response, glare condition, or ecological suitability.
Keep the language precise in the report. “The measured spectrum at location B differed between visits” is a measurement finding when supported by the record. “The revised spectrum benefits a particular species” requires evidence beyond a field lighting comparison, including the relevant species, habitat, season, exposure, and ecological method.
Direction, spill, glare, and sky brightness
Document where light is directed and where it appears outside the intended area. Repeatable photographs can be useful if they include the same viewpoint, framing, camera, exposure information, and processing approach. Photos should complement, not replace, measurements where a numerical comparison is needed.
For visual observations, specify what the observer is recording. “Visible spill beyond the boundary from the fixed photo point” is more useful than “too much light.” If glare is in scope, use the applicable project method and describe the observer position, viewing direction, and operating state. Do not turn a qualitative glare observation into a safety claim.
DarkSky describes responsible outdoor lighting as useful, targeted, low-level, controlled, and warm-colored where possible in its responsible outdoor lighting guidance. Those principles provide a practical checklist for what to document: purpose, direction, amount, timing, and color. They do not replace an agency’s design criteria or a project-specific ecological review.
Timing and controls behavior
Lighting conditions can vary across a single night. Record the observed state at each measurement time, including scheduled changes, dimming events, activation triggers, or manual overrides when they are documented by the project. If the system state is unknown, say so.
This is particularly important when a before visit occurs at a different time than an after visit. A comparison can remain useful if the difference is transparent, but the report should not attribute the change solely to installation when the operating conditions also changed.
Repeat the survey after installation
Schedule the post-installation survey only after the installation is in the intended, documented operating state. Return to the mapped points with the same instrument and settings where practicable and appropriate to the project method. If a substitution is necessary, record it and ask the appropriate technical reviewer whether the readings remain comparable.
Preserve the method, then describe every deviation
The post-installation field sheet should mirror the baseline. Use the same location IDs, measurement geometry, photo directions, time window, and observation sequence. A second person should be able to compare the two sheets line by line.
Some deviations will be unavoidable. Cloud cover, moonlight, seasonal vegetation, surface moisture, nearby construction, traffic, and changed adjacent lighting can all affect what is observed. Do not discard inconvenient records or silently average away variation. State the deviation, show the supporting observations, and explain whether it limits the conclusion.
Separate measured change from interpretation
The final comparison should use three labels:
- Measured change: A documented difference at a defined point, under the recorded conditions.
- Project interpretation: A reasoned explanation of what that difference may mean for the project decision, with its assumptions stated.
- Ecological outcome: A conclusion about organisms, habitat, or biodiversity that requires an appropriately designed ecological study and qualified review.
This structure helps procurement and operations teams use the record without overstating it. It also allows agencies to add a separate biological monitoring plan if the project’s objectives require one.
Turn records into a decision-ready comparison
Present the results in a table and map, not only in narrative form. A useful comparison table pairs each location with its before and after values, units, observed operating state, key conditions, photo reference, and a note about limitations. Keep raw readings or the complete field log in the project record so that a reviewer can trace a summary value back to its observation.
For an illustrative comparison, a report might state: “At boundary point R-03, the post-installation reading was recorded with the same point ID and instrument setting as the baseline; cloud conditions differed, so the comparison is limited.” That wording does not invent a threshold or outcome. It tells the reader what was measured and what could affect interpretation.
Avoid language that turns a design intention into a measured result. A change in spill direction can be documented. A claim that the change protects a habitat cannot be made from lighting readings alone. Similarly, a lower meter reading does not establish savings, compliance, safety, or a particular wildlife response without the relevant additional evidence.
Prepare the right next step
When an assessment leads to a specific equipment, documentation, or procurement question, consult current product specifications and resources and verify the exact model, revision, and project requirements. For context on habitat-sensitive technology, readers may also explore ECOridge ecological lighting; that page should not be treated as proof of a site-specific outcome.
For a defined habitat-sensitive roadway or public-infrastructure project, use ecological lighting monitoring as one documented input and involve the appropriate lighting and ecological specialists before drawing environmental conclusions. Readers with a defined project question may discuss a roadway infrastructure project.
Frequently asked questions
What should ecological lighting monitoring measure before and after installation?
Measure the conditions tied to the project question. Common documentation fields include intensity at defined points, distribution or measurement geometry, spectral characteristics when relevant, direction and spill, observed glare, timing and operating state, sky conditions, and repeatable photographs. Record the instrument, settings, and field conditions with every observation.
How do you make lighting measurements comparable across two site visits?
Use fixed locations, the same method and settings where practicable, a defined time window, and matching photo directions. Record deviations such as cloud cover, moon condition, equipment changes, seasonal conditions, or changes in adjacent lighting so that reviewers can judge their effect.
Is color temperature enough to assess ecological lighting?
No. Correlated color temperature is one descriptive value and does not fully describe spectral output. It also does not establish a wildlife response or ecological suitability. If spectrum is material to the project, document the measurement method and obtain the appropriate ecological expertise for interpretation.
Can a lighting survey prove a wildlife benefit?
No. A lighting survey can document changes in lighting conditions at defined locations. A conclusion about wildlife or habitat requires an appropriate ecological monitoring design, relevant evidence, and qualified review that account for the species, habitat, season, and exposure conditions.
References
- LEOTEK, understanding light pollution; accessed July 29, 2026.
- DarkSky International, night sky quality survey guidance; accessed July 29, 2026.
- International Commission on Illumination (CIE), Guide to the lighting of urban areas; accessed July 29, 2026.
- DarkSky International, responsible outdoor lighting guidance; accessed July 29, 2026.
- LEOTEK, product specifications and resources; accessed July 29, 2026.
- LEOTEK, ECOridge ecological lighting; accessed July 29, 2026.