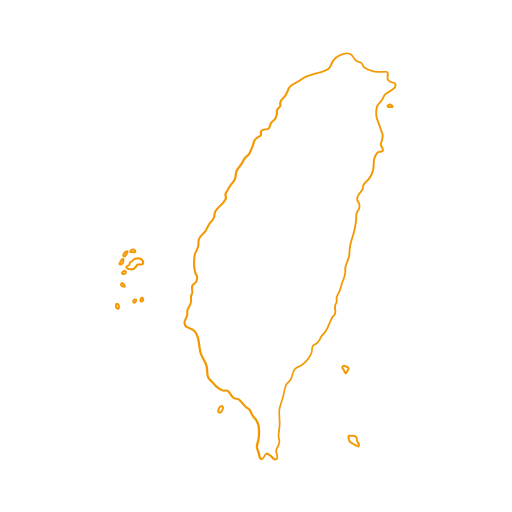

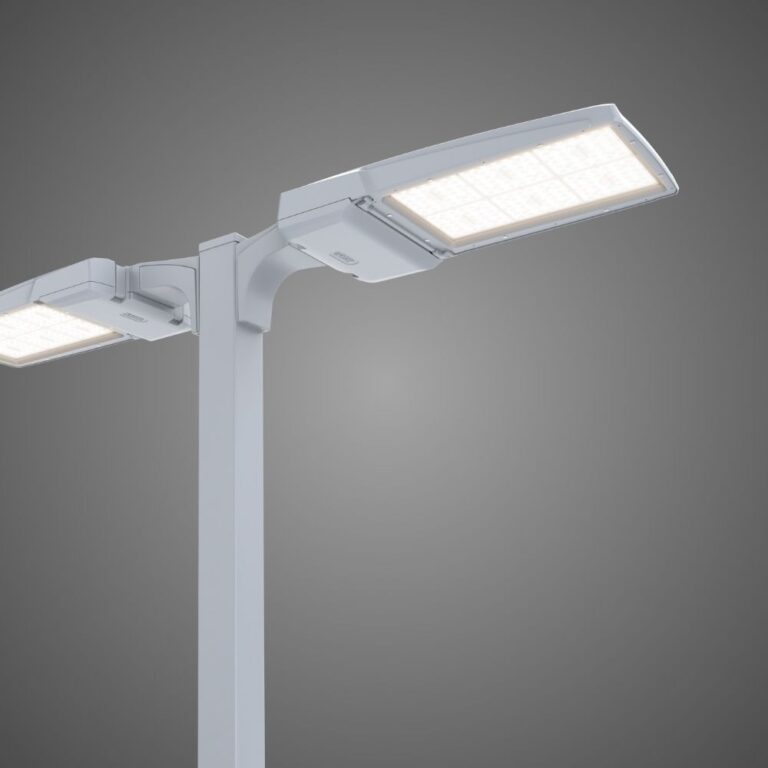
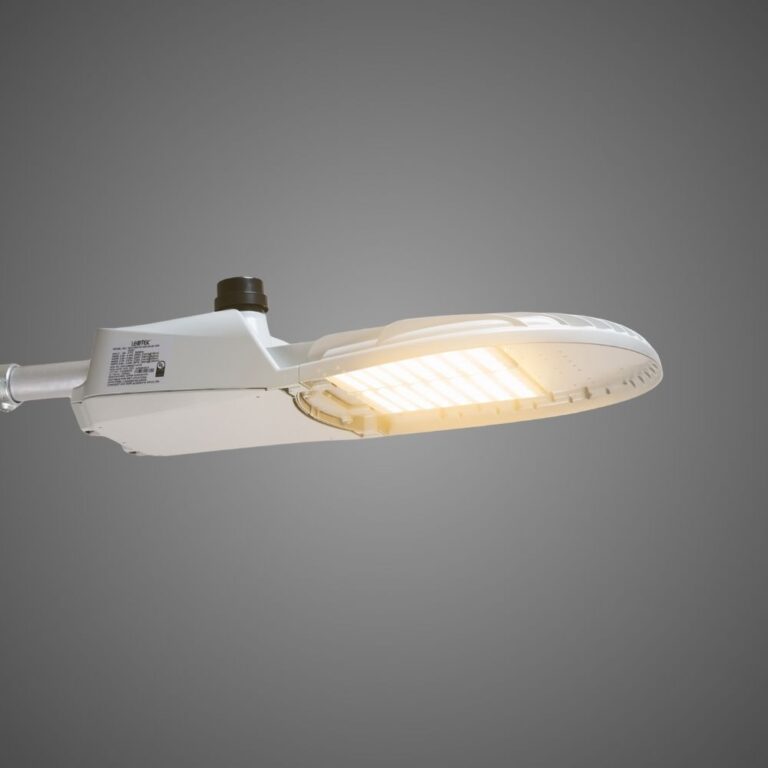
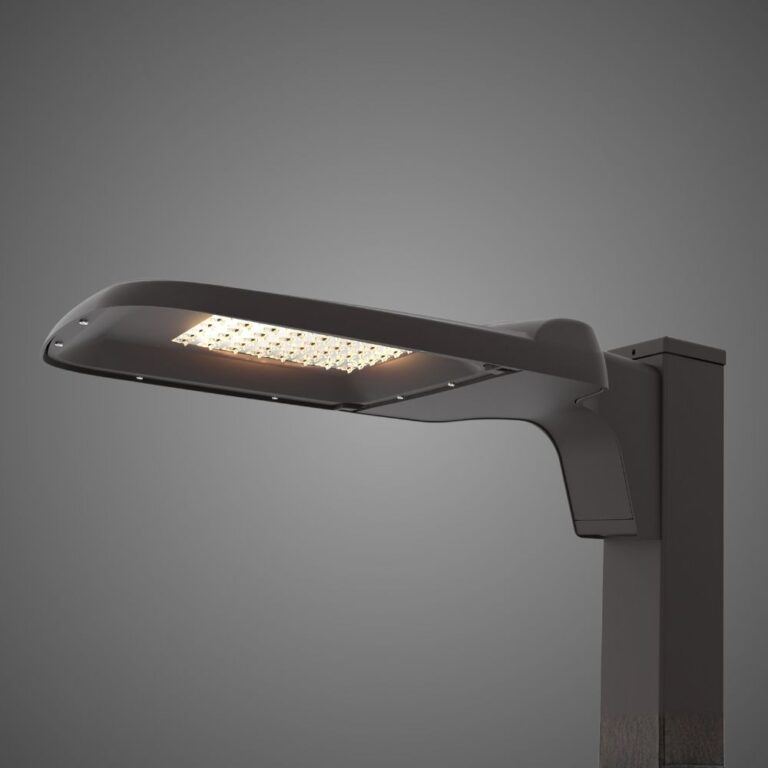
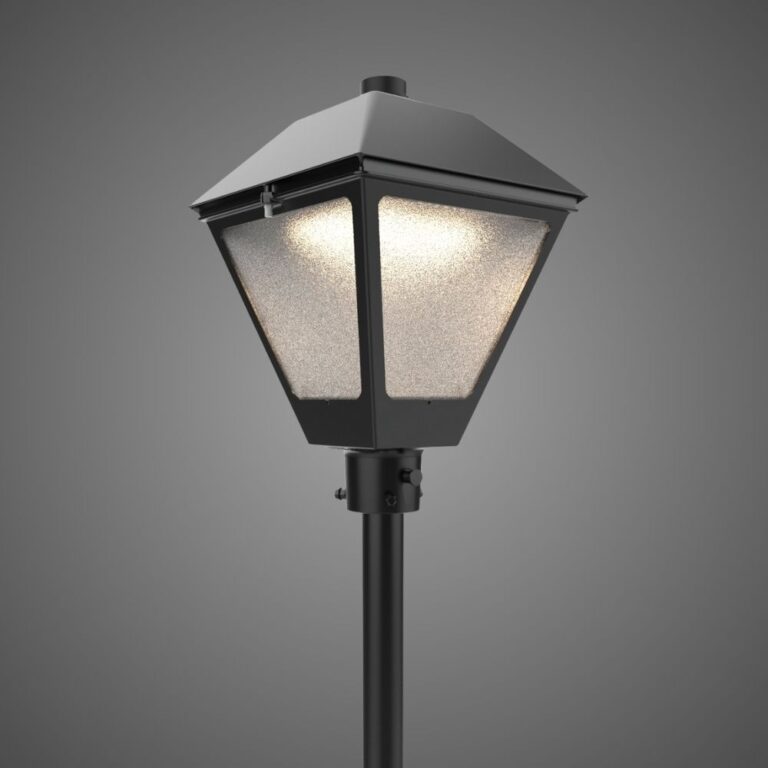

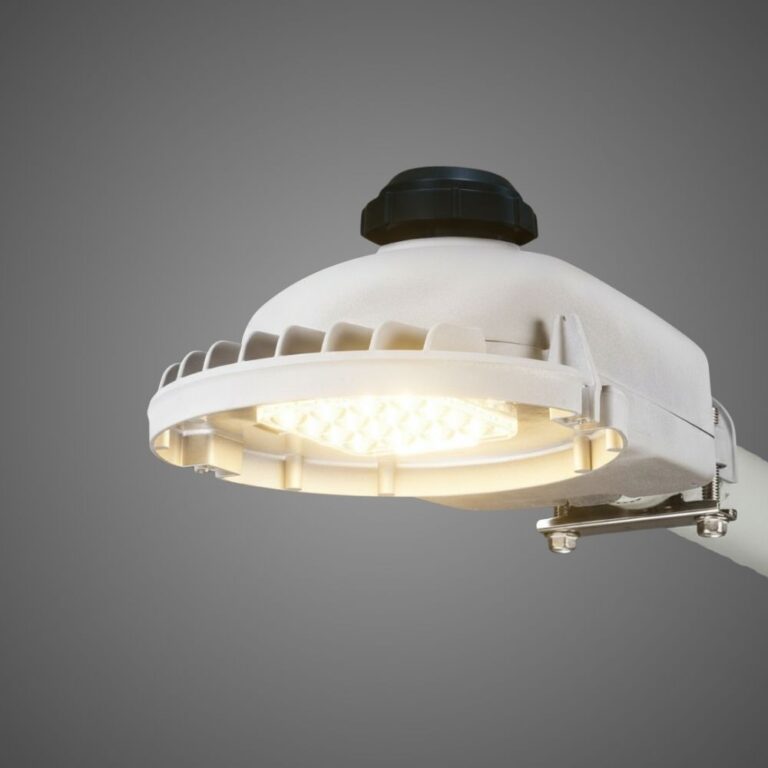
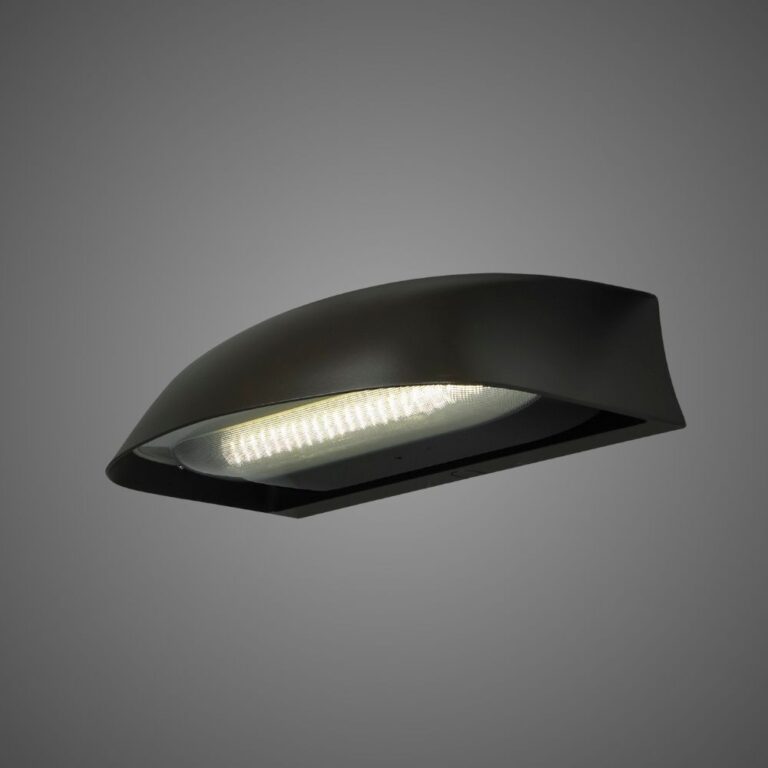









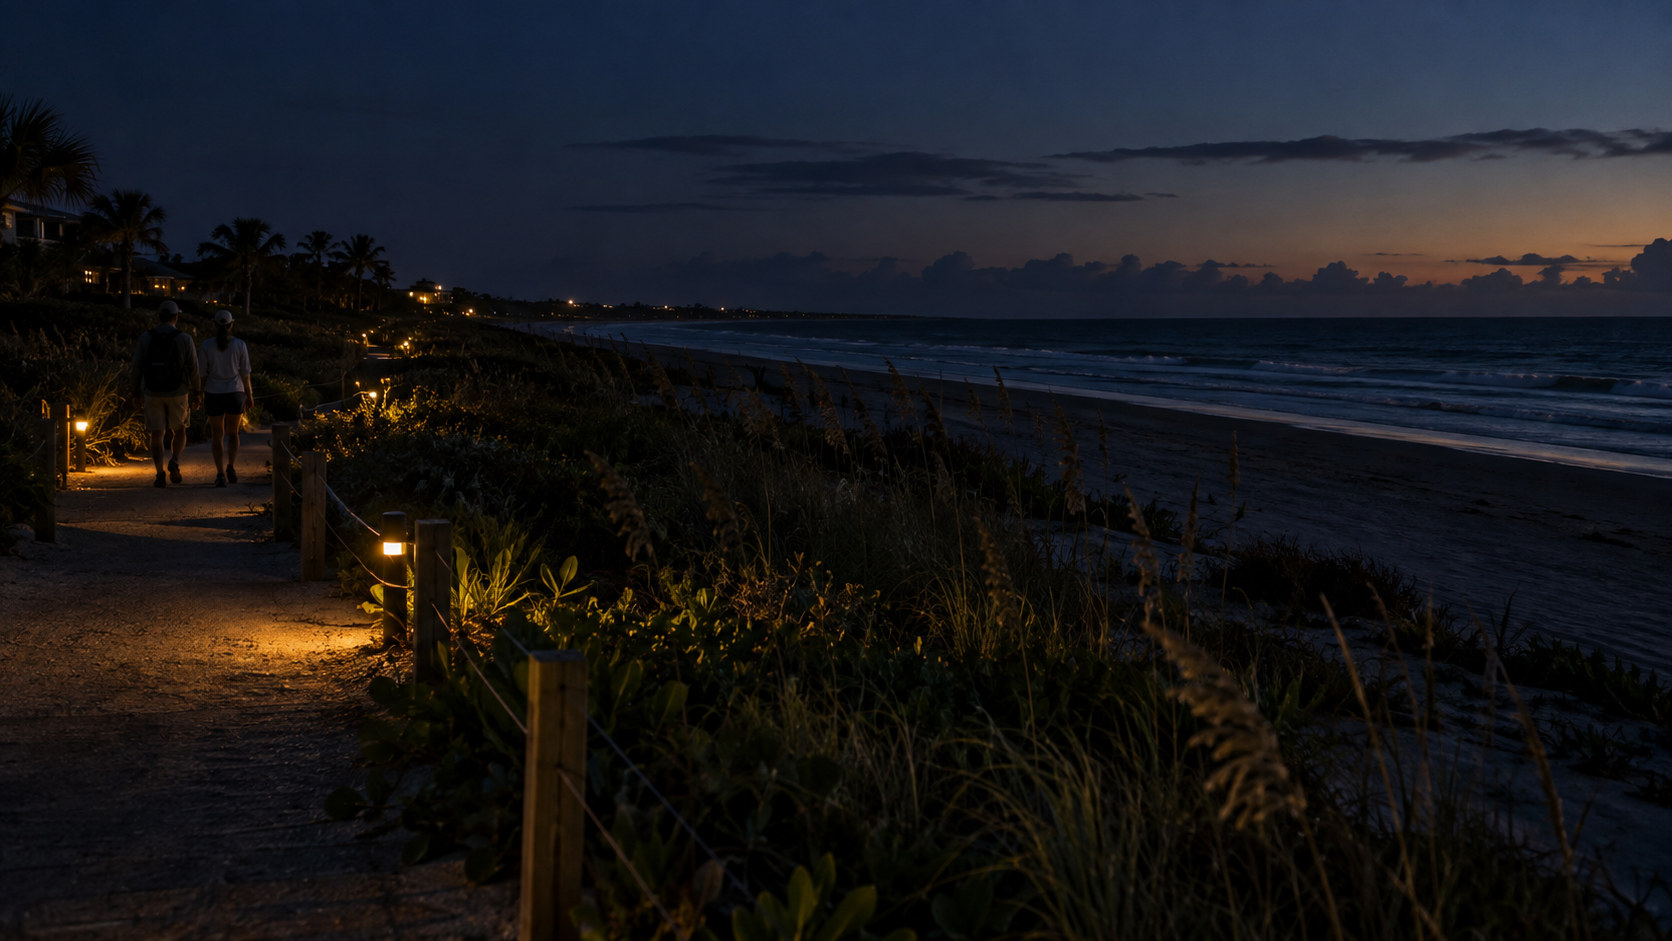
Sea turtle friendly lighting begins by avoiding unnecessary light and then controlling the spectrum, mounting, shielding, orientation, and beach visibility of the light that remains. For shoreline projects, the applicable ordinance and wildlife-agency guidance should govern the final design; a color label or a fixture claim is not universal proof of compliance.
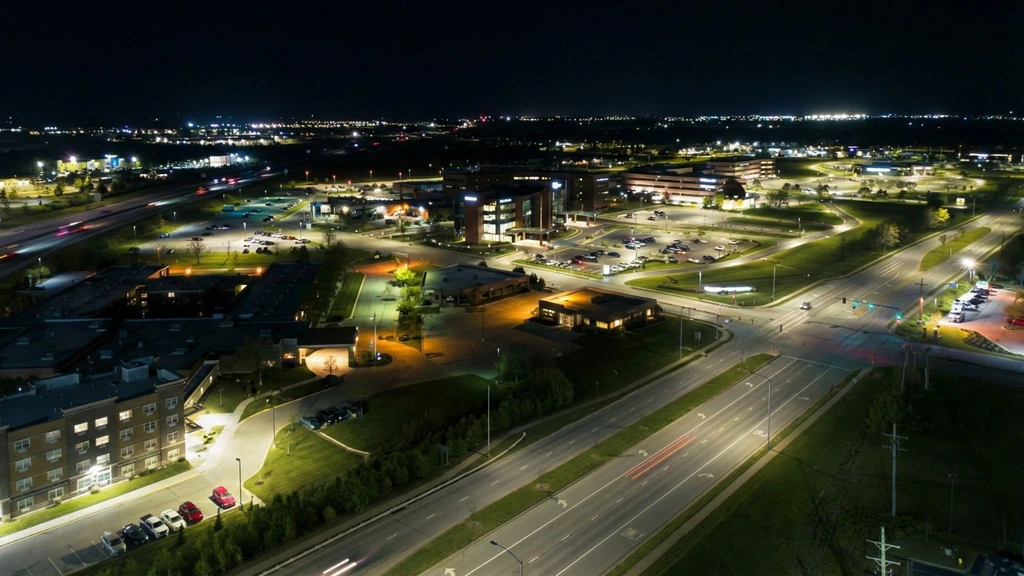
Coastal roads, parking areas, paths, public facilities, and waterfront work zones can create light that may be visible from sensitive habitat, depending on site geometry and operation. The planning challenge is not simply to choose a lamp color. It is to document what the site needs, limit habitat-facing light, and verify the installed result against the requirements that apply to the location.
Key takeaways
• Start by removing or switching off light that is not needed for a documented task.
• Treat spectrum, mounting height, shielding, and fixture orientation as one design system.
• Check whether the lamp, glowing lens, direct light, or reflected light can be seen from the relevant beach or habitat-facing viewpoint.
• Use local ordinances, permit conditions, and wildlife-agency guidance for the project location rather than applying one state program everywhere.
• Request documentation for the exact fixture, optical configuration, controls, and installation before approval.
What sea-turtle-friendly lighting means for shoreline projects
Sea-turtle-friendly shoreline lighting is a site-specific approach to limiting artificial light reaching sensitive coastal habitat. It is relevant to municipal and transportation infrastructure because luminaires can be mounted along roads, walkways, trailheads, parking areas, maintenance yards, and public buildings near the shoreline. Each setting has different operating needs, terrain, ownership boundaries, and governing requirements.
The Florida Fish and Wildlife Conservation Commission (FWC) describes wildlife lighting as a way to minimize artificial-light impacts when lighting is required. Its first principle is more fundamental than fixture selection: naturally dark habitat has no substitute, and turning off unnecessary lighting is the simplest measure. See FWC’s wildlife lighting guidance for the program’s current framework.
That framework is useful for project scoping, but it should not be treated as a nationwide code or a product certification. A coastal jurisdiction may have its own ordinance, permit conditions, seasonal provisions, inspection practices, or definitions. The engineer of record, owner, and applicable authority should determine how the project’s lighting, public-use needs, and habitat protections are reconciled.
Begin with the lighting task, not a preferred fixture
Before discussing optics or color, list the tasks the lighting is intended to support. A roadway crossing, service entrance, emergency access point, or facility door may have a defined operational need. Decorative spill light, all-night lighting of an unused area, and illuminated surfaces with no documented task deserve a different level of scrutiny.
This task-first step keeps a project from using a specialized fixture to solve a problem that could be removed through location, scheduling, access control, or operating policy. It also gives reviewers a clear basis for evaluating where lighting remains necessary.
Apply the low, long, and shielded framework
FWC’s wildlife-lighting guidance summarizes its approach as low, long, and shielded. The phrase is useful because it combines several controls that must work together. It is not a substitute for a site calculation, an ordinance review, or verification of the installed configuration.
Light only the documented task; review mounting height and output against the actual need.
Review spectral data under the applicable program. An amber color label alone is not proof.
Check direct views of lamps and glowing lenses from identified beach-facing viewpoints.
Planning lens based on FWC guidance; confirm local requirements and the installed condition.
Keep required light low and limited to the task
FWC advises mounting a fixture as low as possible and using the lowest wattage necessary for the needed purpose. In a shoreline project, that can prompt useful design questions: Can the light source be closer to the task? Can the illuminated area be reduced? Is a high pole putting the source above terrain, vegetation, or buildings that would otherwise block visibility from the beach?
There is no universal mounting height or output that makes a project compliant. Height and output depend on the task, photometry, pole and site geometry, maintenance access, and local rules. The point is to avoid adding elevation or output that the documented use does not require.
Use long-wavelength guidance in the applicable program context
FWC’s wildlife-lighting guidance identifies long-wavelength sources greater than 560 nanometers, including amber, orange, and red LEDs, as one of its wildlife-lighting criteria. This is a source-specific statement from FWC, not a claim that every amber product is appropriate for every shoreline installation.
Spectrum should be reviewed with the rest of the design. A long-wavelength source can still be poorly located, overly bright, unshielded, or directly visible from habitat. Conversely, a product name, marketing color, or general “turtle-friendly” label does not establish that the exact light source and installed condition meet a local program’s requirements.
Shield the source and assess direct visibility
FWC’s wildlife-lighting guidance calls for full-cutoff-or-better fixtures that prevent direct visibility of lamps or glowing lenses. For a public-infrastructure team, this means reviewing the complete installed condition: fixture optics, tilt, mounting position, bracket geometry, nearby reflective surfaces, and any light passing through glazing or around building edges.
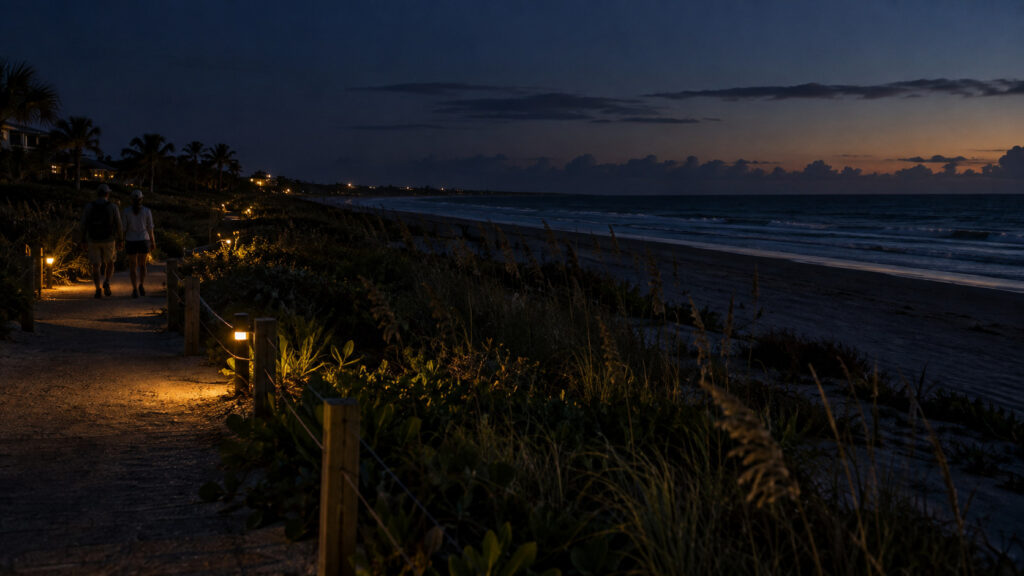
Direct line of sight matters. A fixture may look controlled from the road while remaining visible from a beach, dune, water-facing path, or other sensitive viewpoint. During design review, identify those viewpoints early. During commissioning or inspection, document the same viewpoints after dark so the project team can compare the plan with the field condition.
Design for shoreline geometry and operation
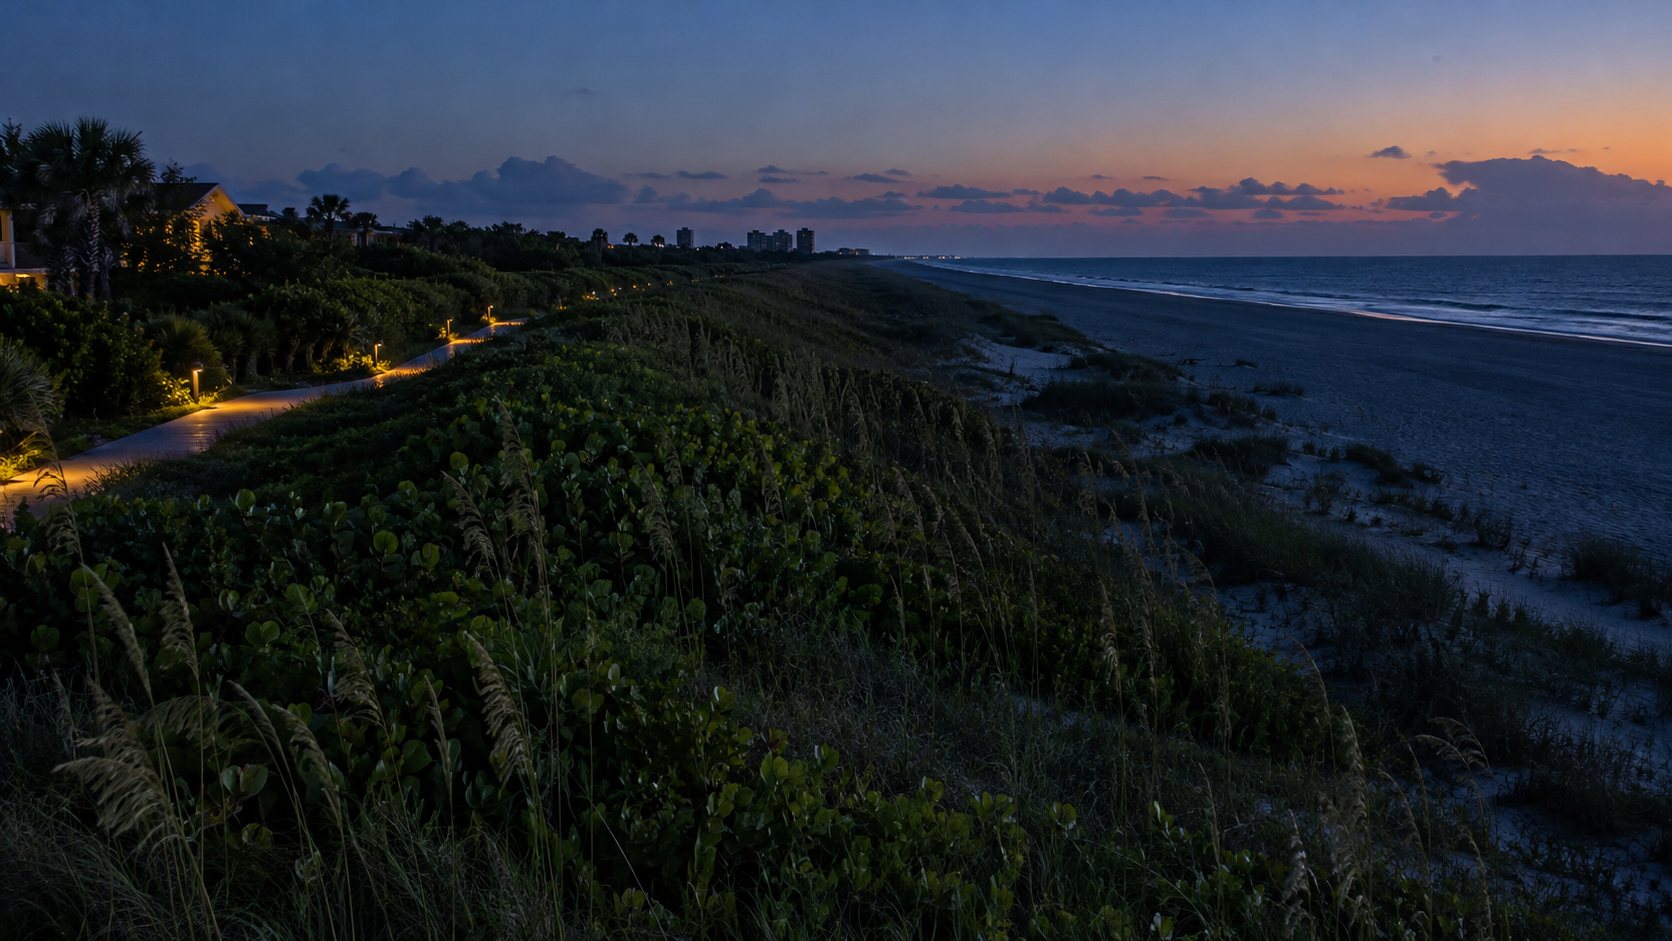
The shoreline changes the way a lighting plan should be reviewed. A beach-facing view can differ substantially from the view at a roadway or facility entrance. Slopes, dunes, vegetation, buildings, poles, pavement, water, and glass can all affect whether light is visible beyond the immediate task area.
Locate and aim light away from habitat-facing views
Where feasible, place luminaires and illuminated tasks on the landward side of the site and orient light away from the shoreline. Avoid exposed lamps or glowing lenses facing protected habitat. Consider both direct light and reflected light from pavement, façades, signs, vehicles, and glazing.
These are project-design considerations, not universal installation instructions. A lighting professional should use the project’s current photometric plan, site survey, operating requirements, and applicable guidance to assess them. The goal is not to presume a solution from a plan view; it is to understand what may be visible from the project’s identified habitat-facing viewpoints.
Make controls part of the operating plan
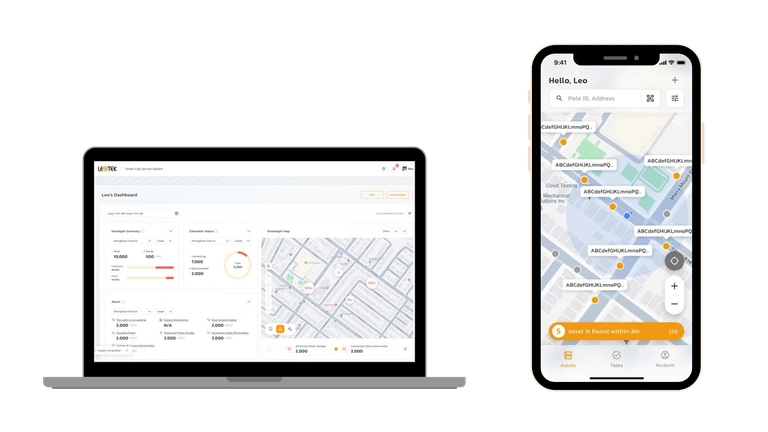
Controls can help align lighting with real operating conditions. Scheduling, dimming, and shutoff may be appropriate when the owner has identified when and where light is required. They should be documented as part of the operating plan, including who can adjust them, how overrides work, and how the owner will verify that the programmed condition remains in place.
Controls are not a substitute for proper placement or shielding. A fixture that sends light toward habitat can remain a problem whenever it operates. Likewise, a control strategy should not be assumed to deliver a particular energy, maintenance, safety, or environmental outcome without project-specific evidence.
Build a specification and verification workflow
The most useful shoreline-lighting specifications connect the design objective to evidence that can be reviewed before procurement and after installation. The workflow should begin with governing requirements, not with a brand, a color, or a generic certification claim.
Confirm the requirements that govern the project
Identify the authority with jurisdiction, local coastal or sea-turtle protection ordinances, permit conditions, owner standards, and wildlife-agency guidance before selecting equipment. FWC provides a resource page for sea turtle protection ordinances; that is a starting point for Florida-related research, not a reason to apply Florida rules outside Florida.
The project record should also identify the habitat-facing viewpoints that will be used in review. This makes the intent testable: a reviewer can evaluate whether the source, lens, or illuminated surface is visible from those locations under the planned operating condition.
Ask for evidence for the exact configuration
Procurement documents should request current information for the specific fixture and configuration being considered. Depending on the project, that may include optical data, spectral information, mounting and aiming instructions, control details, installation information, and documentation required by the applicable program or jurisdiction.
Ask which document revision applies and whether its scope matches the project. A general product page or a category description may be useful for orientation, but it does not prove a particular compliance status. Engineers and procurement teams can use technical documents and product resources to locate current materials, then verify the exact product, revision, and project conditions that matter.
Assemble a reviewable documentation package
A concise project record helps the owner, design team, and reviewers evaluate the same proposed condition. It can identify the governing requirement, the fixture and optical configuration, spectral information where relevant, mounting and aiming instructions, the current photometric plan, the intended controls schedule, and the habitat-facing viewpoints selected for review. The package should also identify which document revision is being relied on and which items still require confirmation from the applicable authority.
This record does not determine compliance by itself. It gives the project team a consistent basis for submittal review, commissioning, and future inspection, while keeping site-specific decisions with the responsible professionals and authorities.
Verify the installation, not just the submittal
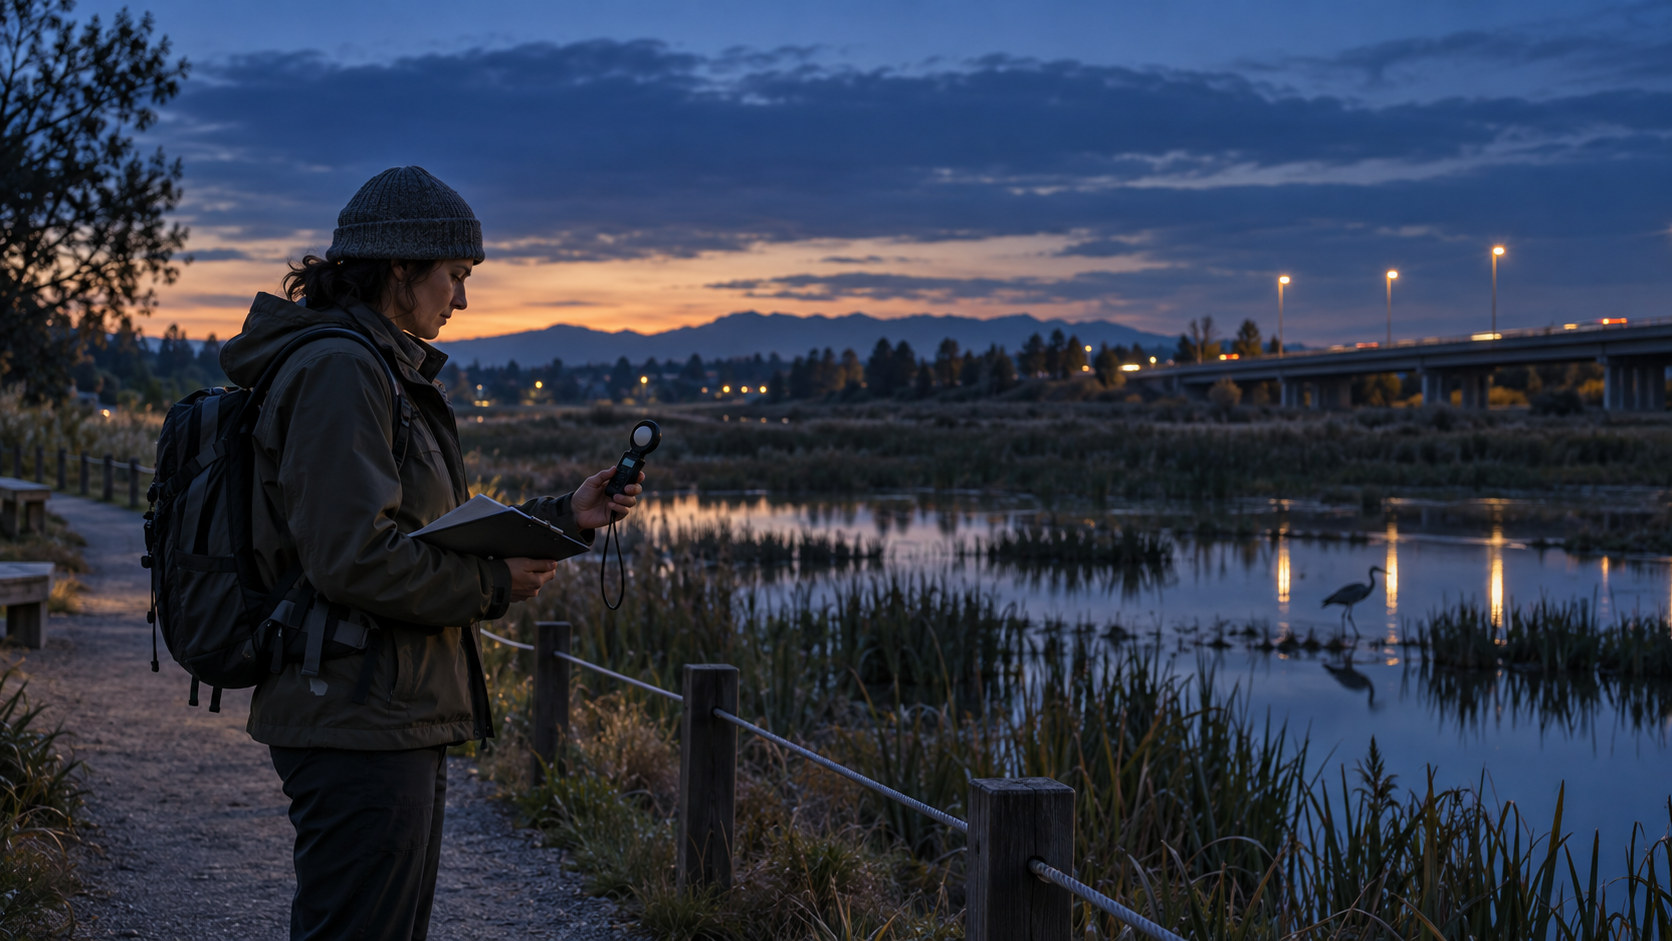
Submittal review is only one part of the process. After installation, compare fixture position, tilt, shielding, controls, and observed visibility with the approved intent. A beach-side or habitat-facing nighttime observation may help identify conditions that are not obvious in a rendering or daytime site visit.
Record the date, operating mode, observer viewpoint, and any corrective action in the project file. This is a practical verification step, not a substitute for an agency inspection or a regulatory determination.
Questions to ask before approval
Use these questions to structure a design or procurement review:
- What documented task requires this light? If there is no clear task, can the light be removed or operated only when needed?
- Which requirements govern this site? Confirm local ordinances, permit conditions, owner standards, and wildlife-agency guidance before relying on a label or prior project practice.
- What will be visible from habitat-facing viewpoints? Review direct light, the lamp or lens, and significant reflections from the relevant beach or shoreline perspective.
- Does the photometric and installation information match the proposed condition? Confirm the exact optics, mounting, aiming, shielding, controls, and document revision.
- How will the owner verify ongoing operation? Define the commissioning check, any schedule or dimming settings, inspection responsibility, and process for correcting changes.
These questions make the review more rigorous without presenting a universal prescription. They also help separate a meaningful lighting decision from a broad sustainability claim. For background on the broader issue, readers can review LEOTEK’s discussion of roadway light pollution, while keeping local wildlife requirements and project evidence at the center of the decision.
Ecological lighting in the public-infrastructure context
Ecological lighting can be a relevant consideration when a city, agency, or public owner is planning near sensitive habitat. It should not be used as shorthand for compliance or a promise of a species outcome. The project still needs a site-specific design, current documentation, and review against the rules that apply.
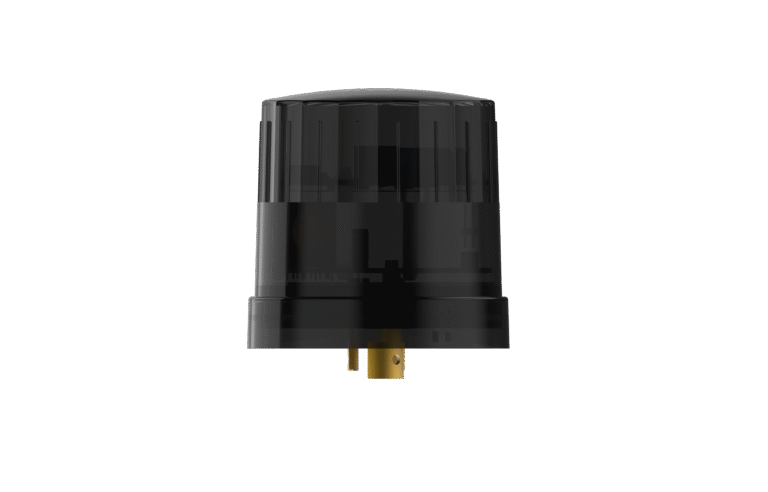
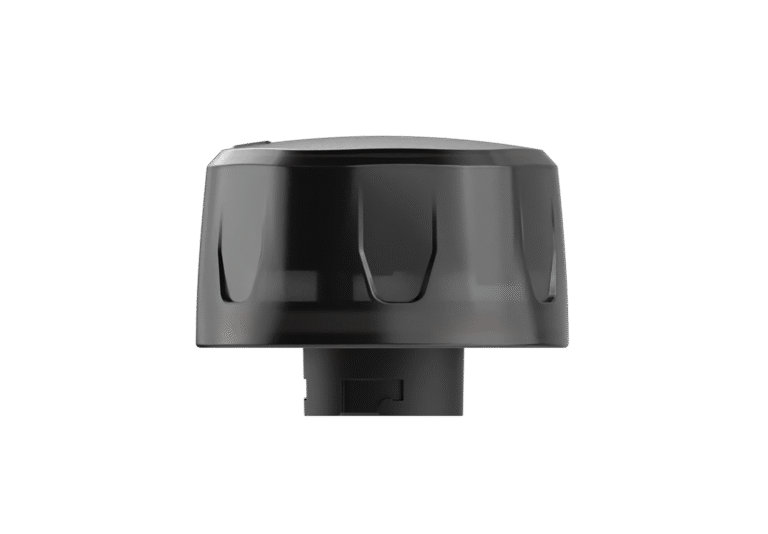
LEOTEK presents ECOridge ecological lighting as a technology page addressing spectrum engineering, blue-light filtering, shielding, monitoring, and adaptive dimming for sensitive habitats. That first-party description can help a team explore the topic, but it does not establish sea-turtle certification, a required wavelength, or suitability for a particular shoreline project.
For a defined project, the next step is to assemble the governing guidance, site information, and current technical documentation before selecting or approving equipment. Teams that need to frame a technical question can discuss a shoreline lighting project with LEOTEK. That conversation should complement, not replace, review by the responsible design professionals and applicable authorities.
Frequently asked questions
What color light is sea-turtle-friendly?
FWC’s wildlife-lighting guidance identifies long-wavelength sources greater than 560 nanometers, including amber, orange, and red LEDs, as one criterion in its wildlife-lighting framework. Color alone is not enough: the fixture’s height, shielding, orientation, brightness, visibility, and the local requirements also matter.
Is amber lighting automatically turtle-friendly?
No. An amber label does not establish that an exact product, installation, or operating condition meets a wildlife-lighting program or local ordinance. Verify the applicable criteria, the product documentation, and what is visible from the relevant habitat-facing viewpoint.
How can a project team check shoreline light visibility?
Use the project’s identified beach or habitat-facing viewpoints during a documented nighttime review. Compare observed direct light, lamps or lenses, and significant reflections with the approved design and operating condition, while following the applicable jurisdiction’s process.
Do sea-turtle lighting rules apply outside Florida?
Requirements vary by jurisdiction. FWC guidance is a useful primary source for its program, but teams outside Florida should consult their local authority, permit conditions, and relevant wildlife agency rather than applying Florida criteria as a universal rule.
For shoreline projects, sea-turtle-friendly lighting is a disciplined design and verification process: provide only the light a documented task requires, control the light that remains, and check the result from the shoreline-facing perspective that matters.
Before finalizing a shoreline lighting concept, document the site and receptor context with the ecological lighting site assessment guide. A before-and-after lighting survey can then help the project team verify the installed conditions.
References
- Florida Fish and Wildlife Conservation Commission, Wildlife Lighting; accessed July 29, 2026.
- Florida Fish and Wildlife Conservation Commission, Sea Turtle Protection Ordinances; accessed July 29, 2026.
- LEOTEK, Resources & Documents; accessed July 29, 2026.
- LEOTEK, Light Pollution Explained: Impacts and Solutions; accessed July 29, 2026.
- LEOTEK, ECOridge™ | Ecological Lighting; accessed July 29, 2026.