



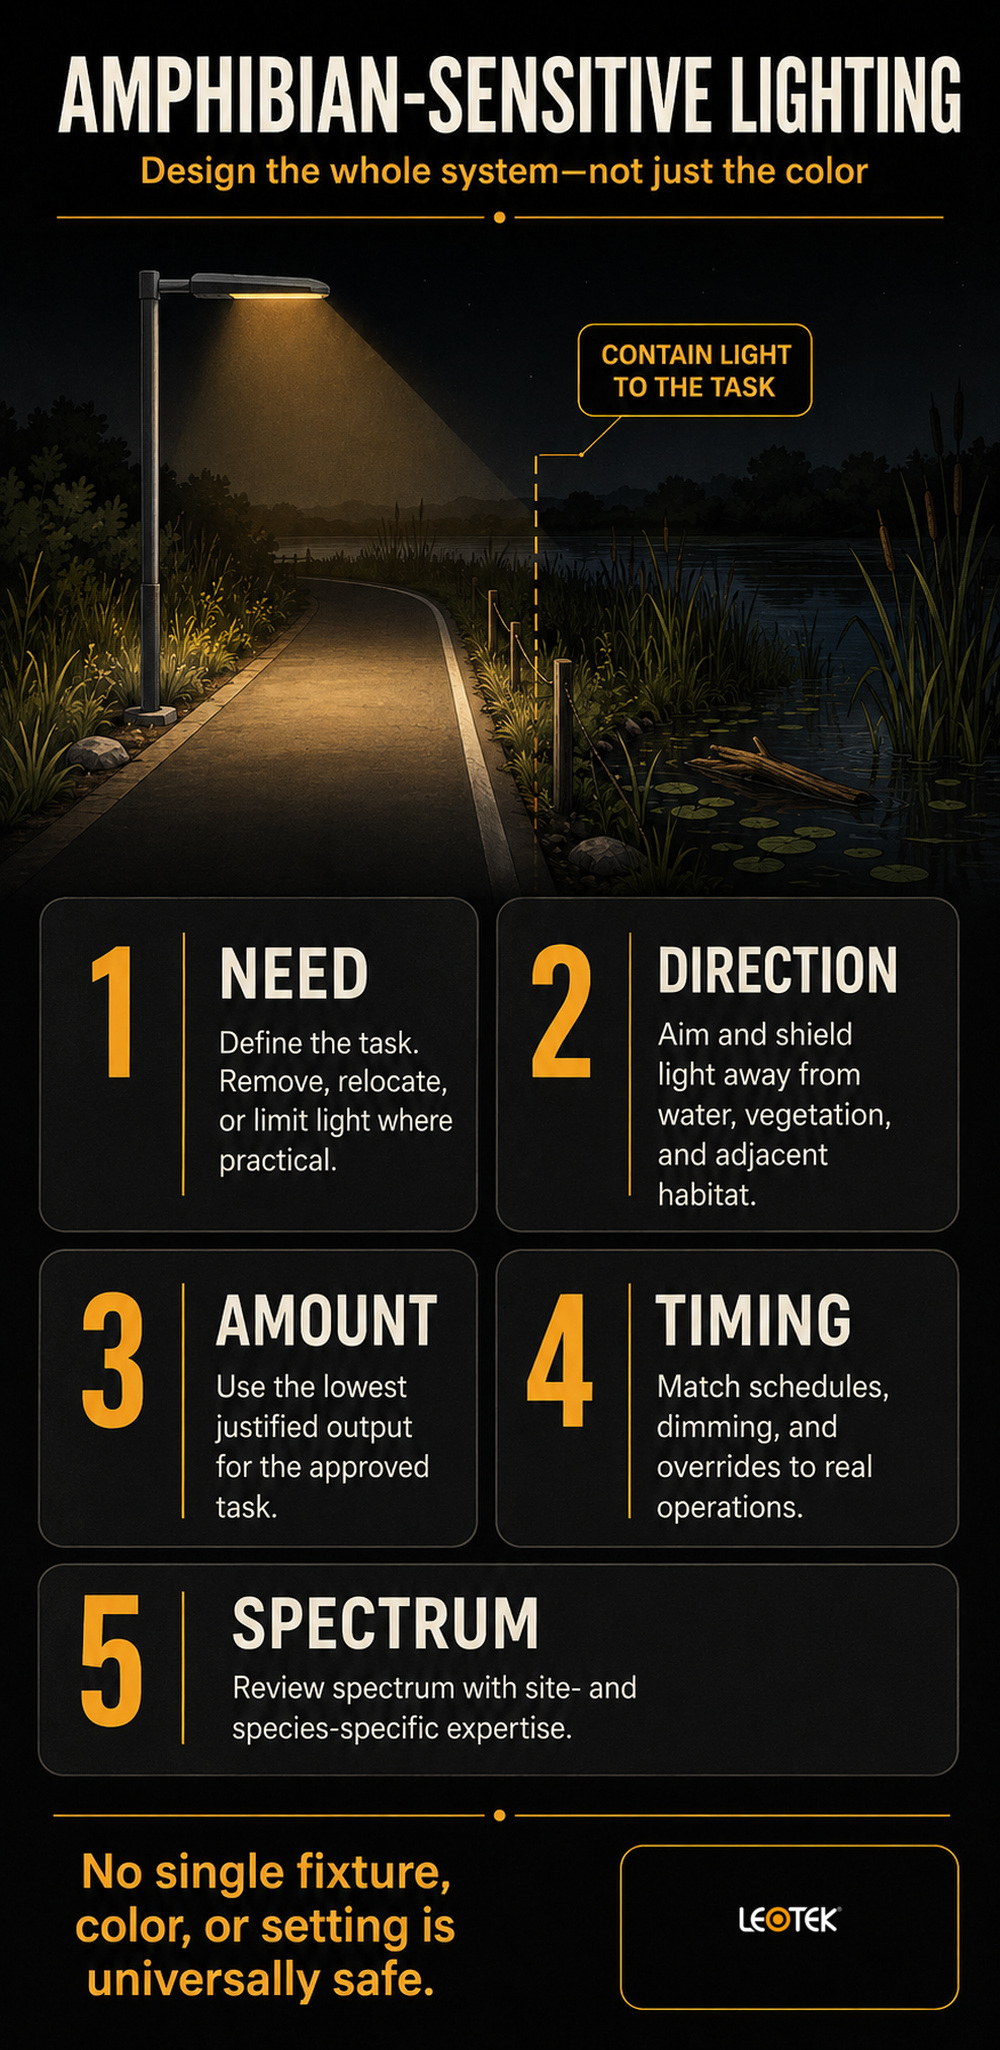
Amphibian lighting starts by avoiding unnecessary nighttime light near wetlands and breeding habitat. When lighting is necessary for a roadway, path, facility, or operations task, the practical approach is to contain it to that task, limit when it operates, evaluate spectrum as one part of the design, and verify the installed condition with site-specific ecological and regulatory input.
That is a planning process, not a claim that one fixture, color, or control setting is safe for every wetland. Species, seasonal activity, existing darkness, terrain, vegetation, and local requirements all matter. For city and transportation-agency teams, the goal is to make the lighting decision traceable before equipment is selected.
Key Takeaways
- Start with the need for light, then ask whether it can be removed, relocated, or limited.
- Map the task area and the directions in which light could spill toward water, vegetation, and adjacent terrestrial habitat.
- Use aiming, shielding, output, and controls together; changing color temperature alone is not a complete ecological-lighting strategy.
- Treat species, timing, buffers, and performance targets as site-specific questions for qualified ecological and permitting review.
- Commission and revisit the installation rather than assuming the design drawings describe the light that reaches habitat.
What is amphibian-sensitive lighting?
Amphibian-sensitive lighting is a project approach for wetlands and breeding areas: use light only where a defined task requires it, direct it away from habitat, limit brightness and operating time, assess spectrum with site-specific expertise, and verify spill after installation. It does not mean one fixture or color is safe for every species or wetland.
Teams may search for “amphibian friendly lighting,” but it is not a verified fixture category or a universal ecological-performance claim. The term is most useful when it prompts better questions about habitat, spill, operating time, and field verification.
Why lighting near wetlands needs a different planning process
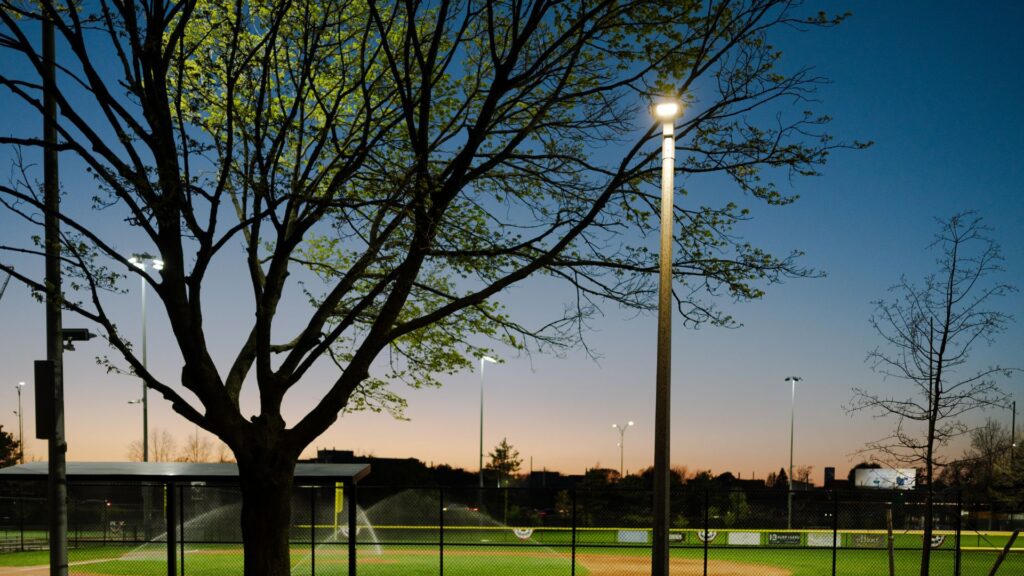
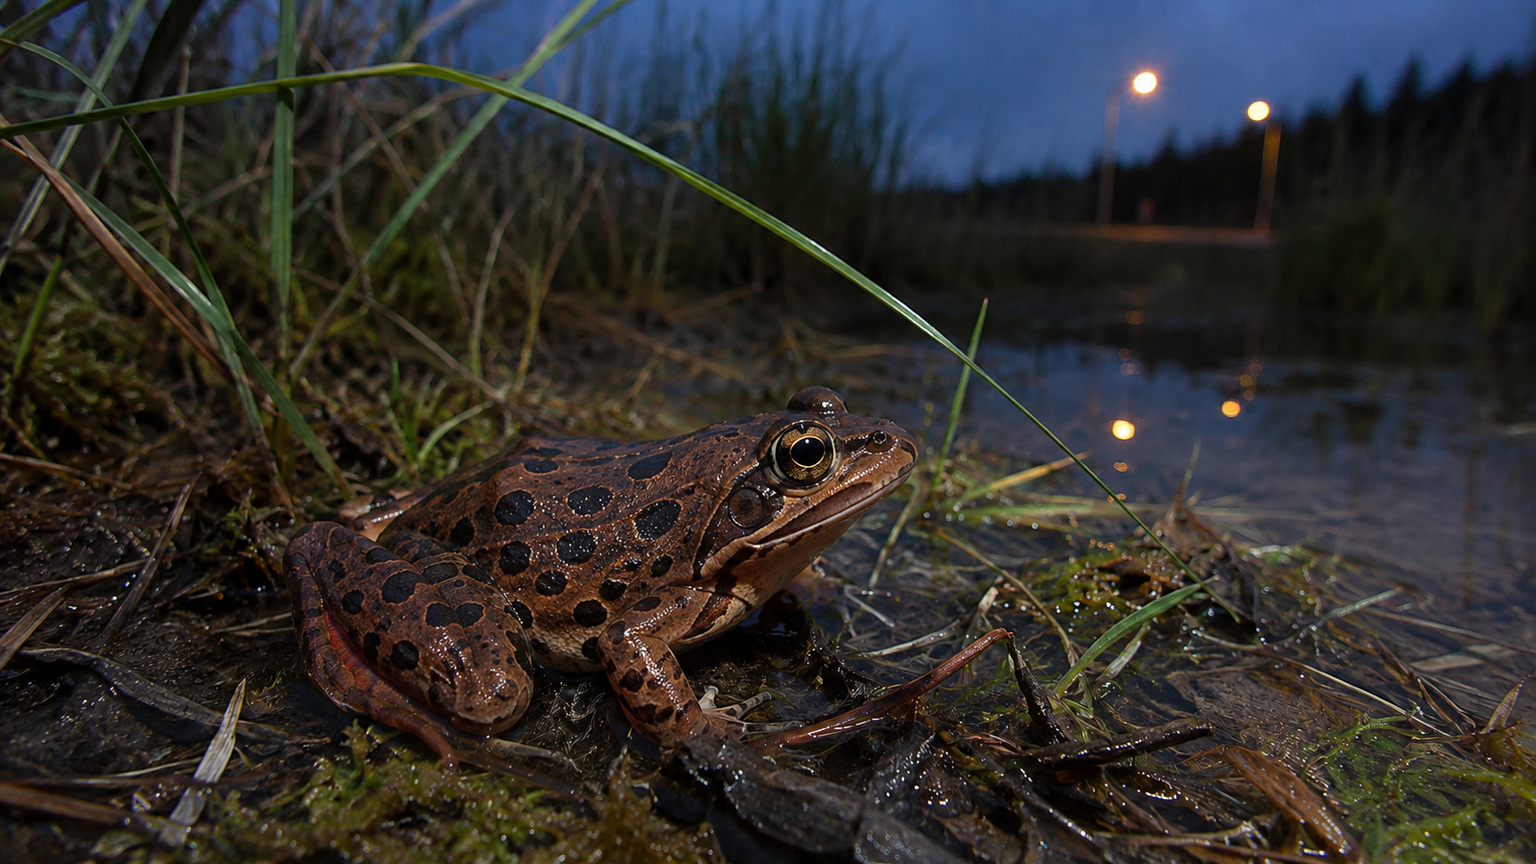
Outdoor lighting near water can serve legitimate purposes: defining a roadway edge, supporting a maintenance task, illuminating a facility entrance, or helping staff work during a limited nighttime operation. Yet a wetland is not simply another unlit parcel beside the project. It may include open water, emergent vegetation, shoreline, and connected upland areas that different amphibian life stages use differently.
Artificial light at night, often abbreviated as ALAN, can alter conditions that animals use as environmental cues. The evidence does not justify treating every lighted project as having the same outcome. It does justify careful design where habitat and nighttime lighting overlap.
For example, a field study of anuran communities in natural wetlands in southern Brazil found differences in calling season and nightly calling patterns between continuously illuminated and unlit locations. The study also found that a brief light pulse inhibited calling at unlit wetlands, while frogs at continuously lit locations quickly resumed calling. Read the study and its limits in the PubMed record for Dias and colleagues. Those findings concern the studied species, wetlands, and lighting conditions; they do not establish a universal rule for U.S. amphibians.
Another study used experiments with American toads and found that ALAN altered development and activity measures; juvenile growth was lower in the ALAN treatment. The full, open article is available from PubMed Central. It is useful evidence that light exposure can matter across life stages, but it is not a product specification, a permit standard, or a prediction for every site.
The implication for public-infrastructure teams is measured: do not make ecological promises from a catalog feature. Instead, identify the habitat context, define the operational need, and test whether the proposed lighting sends illumination into places where it is not needed.
Start with the lighting need, the habitat, and the decision boundary
Define the task before defining the luminaire
Write down what the light must accomplish. “Improve visibility” is a starting point, not a complete requirement. Is the need continuous roadway guidance, intermittent inspection work, access control, a pedestrian conflict point, or an emergency-only operation? Who uses the space, at what times, and under what conditions?
This distinction can reveal alternatives. A permanently lit area may instead need a revised layout, reflective delineation, a lower-mounted task light, scheduled access, or lighting that operates only during a defined activity. The article is not recommending any one alternative; it is asking the project team to establish why the proposed light is necessary before optimizing it.
Map the task area and likely spill paths
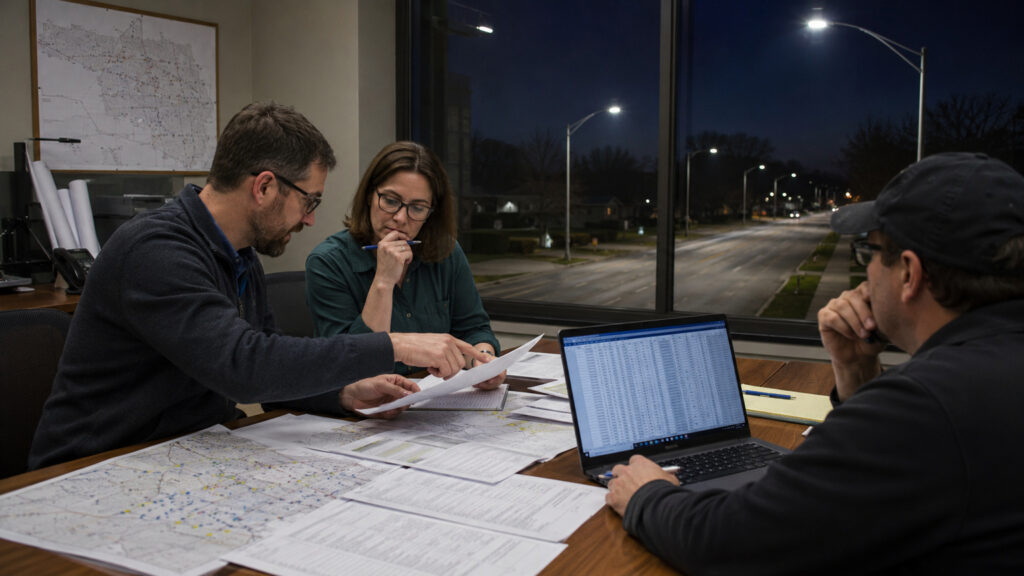
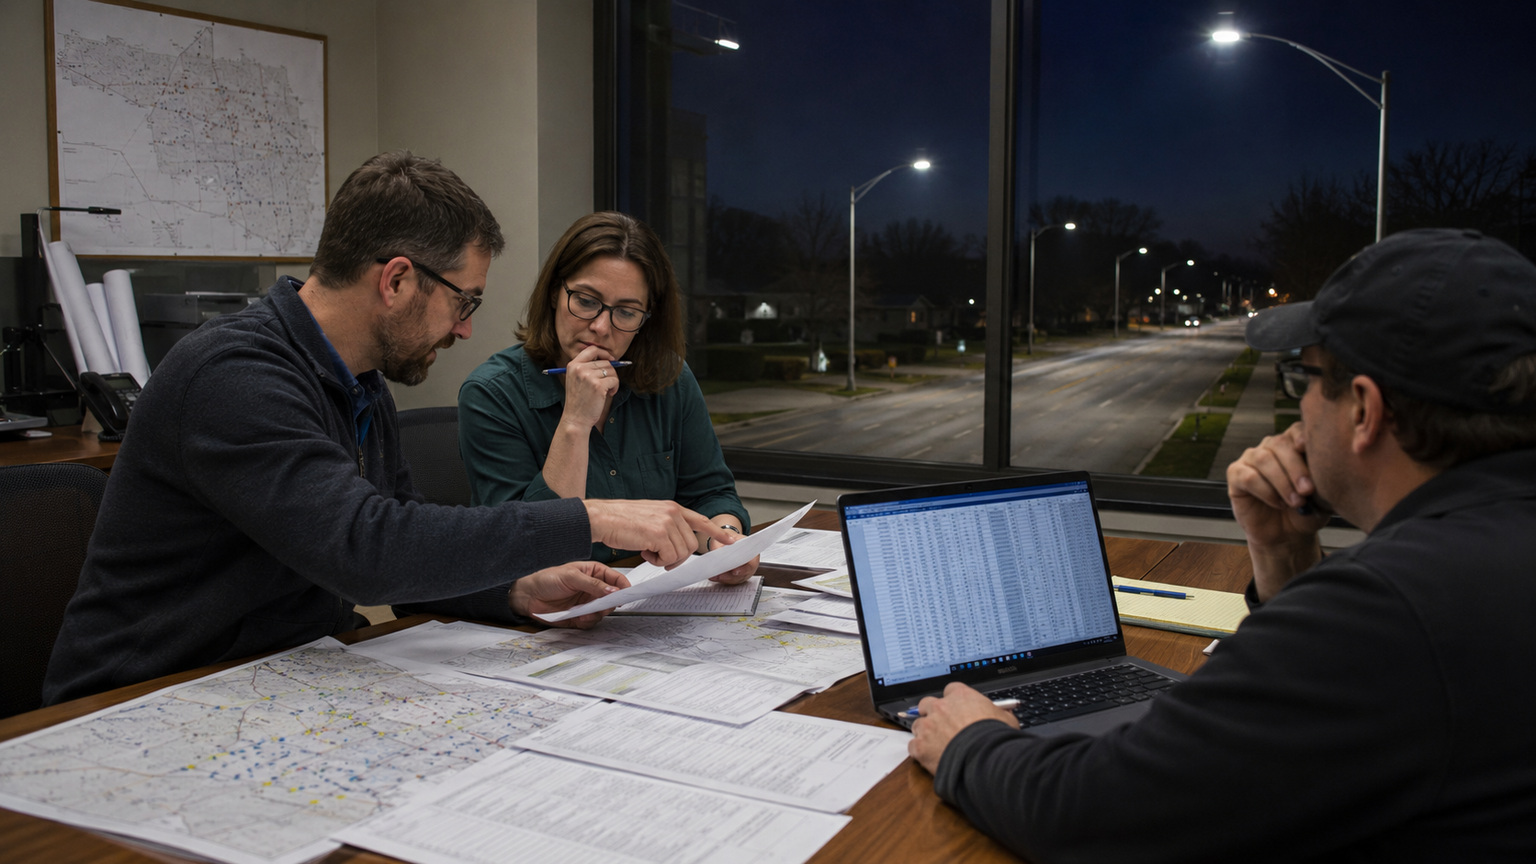
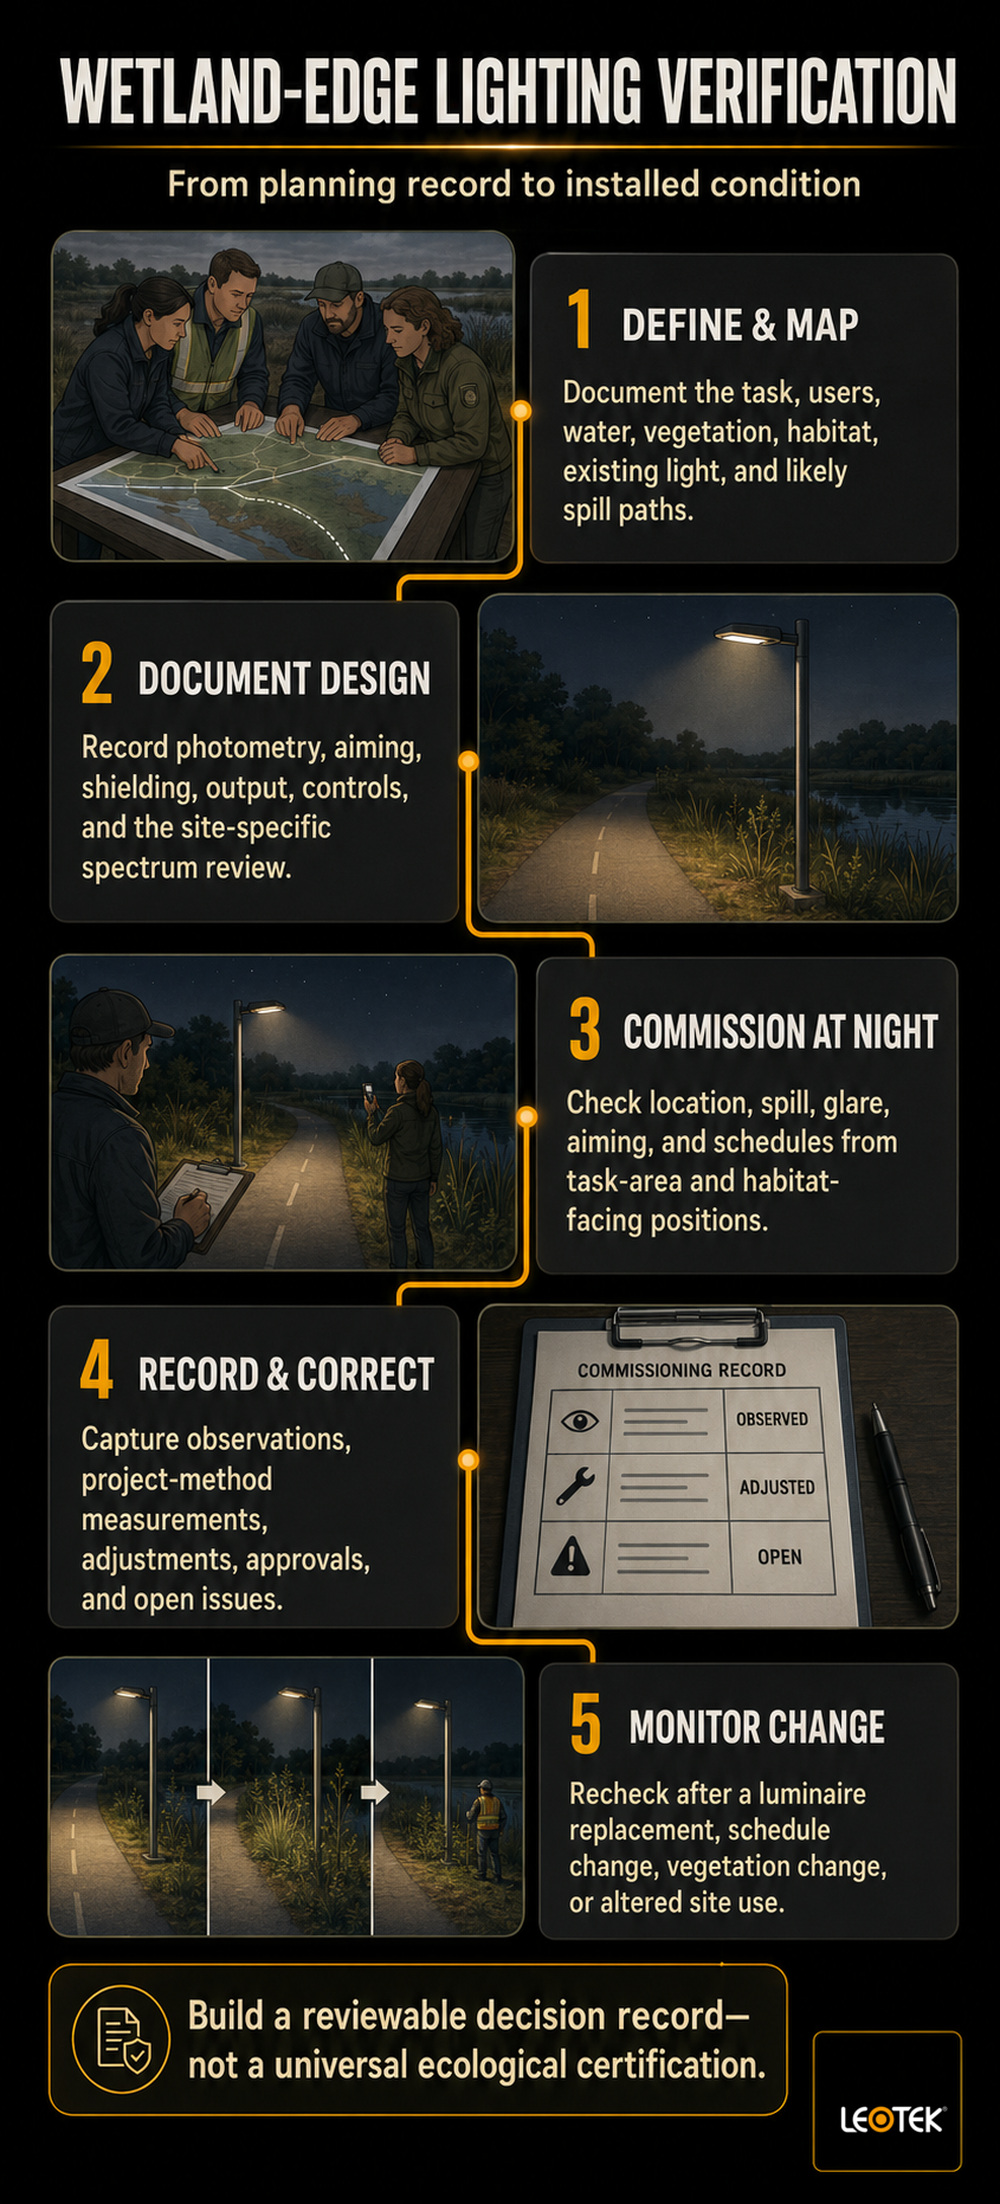
Bring the lighting designer, project engineer, operations representative, and qualified ecologist into the same map review. Mark the work area, water boundary, wetland vegetation, adjacent cover, existing light sources, terrain changes, and any known travel or breeding areas. Also mark the intended beam direction and the directions in which direct light, reflected light, or glare could leave the task area.
The useful boundary is not necessarily a fixed distance from water. A fixed setback without species and site context can create false confidence. The decision boundary should instead be based on the actual habitat, the project footprint, the lighting task, and applicable review requirements.
Identify seasonal and regulatory questions early
Ask the relevant resource agency or qualified wildlife professional what information is needed for the site. This may include species records, breeding periods, survey needs, permit conditions, habitat designations, or construction constraints. Local and state requirements vary, and this article cannot determine what applies to a particular project.
Wetland work also benefits from a long view. A U.S. Geological Survey study of created, impacted, and reference wetlands in the Greater Yellowstone Ecosystem found species-specific patterns of amphibian occupancy and emphasized the value of long-term monitoring. Its subject was wetland age and design, not lighting, but it reinforces a central project lesson: habitat response should not be assumed from construction completion alone. See the USGS publication record for the study scope.
Design to contain light rather than merely change the lamp
An ecological lighting discussion can become overly focused on color. Spectrum matters, but it is one variable among need, direction, intensity, duration, mounting, surface reflection, and surrounding darkness. A lower-blue or warmer spectrum does not, by itself, establish that a project avoids ecological effects.
Aim and shield light to the defined task area
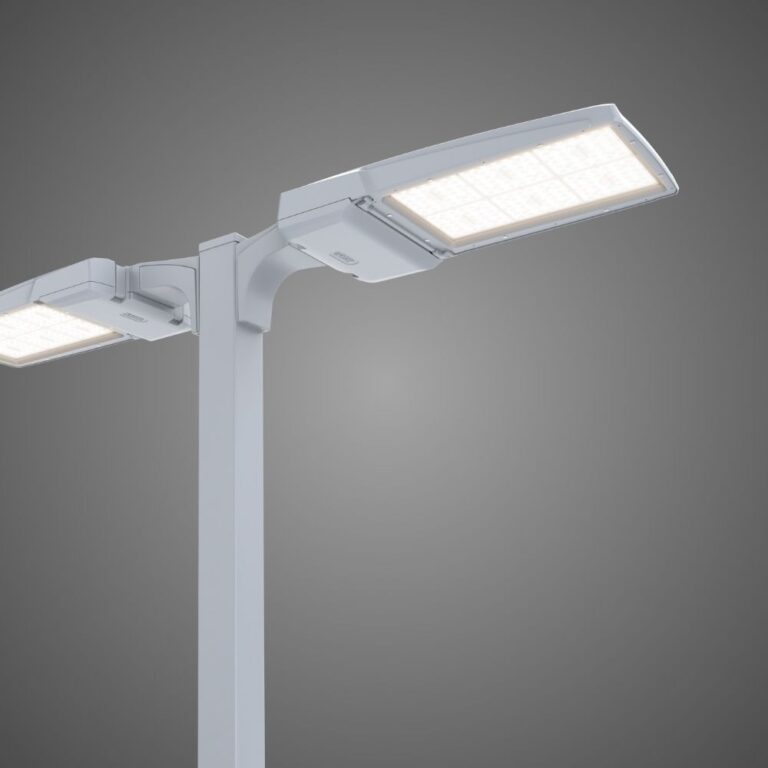
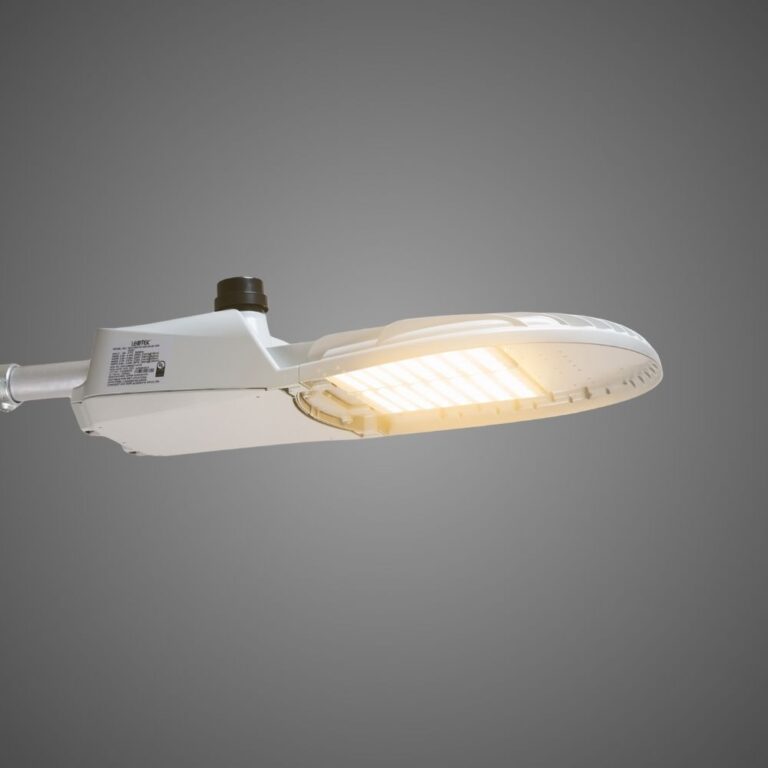
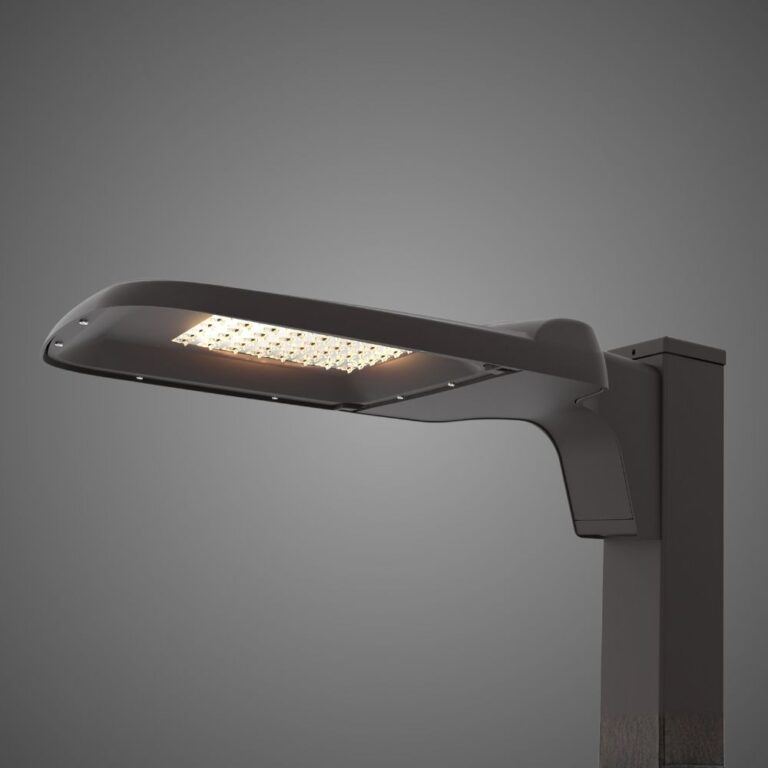
Use photometric design to show where light is intended to land and where it should not. The installation should be aimed at the work surface or route that requires illumination, not broadly toward water or habitat. Shielding and careful orientation can help reduce direct light trespass and glare beyond the task area.
DarkSky International’s responsible-lighting principles frame this as using light only when needed and directing it only where needed. The principles are general outdoor-lighting guidance, not an amphibian-specific standard, but they offer a sound design discipline: purposeful, targeted, low-level, controlled, and warm-colored light. Review the Five Principles for Responsible Outdoor Lighting alongside project-specific engineering and ecological review.
Shielding is not a complete risk control. Light can reflect from pavement, water, structures, or signs, and a shield that performs on a plan may be mis-aimed after installation. The project should therefore specify both the intended distribution and the field verification method.
Set the lowest justified amount of light
The appropriate amount of light depends on the actual task, governing criteria, geometry, users, and operating conditions. Avoid treating a generic target as automatically appropriate at a habitat-adjacent location. Instead, ask the designer to explain how each light level supports the defined task and whether it can be reduced outside that task area.
This is not an argument to under-light a roadway or access route. It is an argument to avoid light that does not serve the approved function. Better containment can be as important as lower output when a project sits next to water or vegetation.
Use controls and timing that match operations
Controls can align lighting with a real operational need. Depending on the project, that may mean schedules, dimming during low-use periods, or activation for a defined maintenance activity. The correct control logic must be designed and tested for the site; it should not create an operational hazard or assume a specific breeding window without expert confirmation.
Document the planned schedules, override conditions, and responsibility for changes. Controls are only useful if staff can understand them, maintain them, and verify that the installation is operating as intended.
For procurement, require the control schedule and any field-adjustable settings to be documented at closeout. That record gives future maintenance teams a basis for restoring the intended operating condition after repairs or replacements.
Evaluate spectrum as part of the whole system
Spectrum should be discussed with the ecologist and lighting professional in the context of the species, habitat, project purpose, and available evidence. Avoid marketing language such as “amphibian friendly” unless it is carefully defined and directly supported for the relevant conditions. A color-temperature label alone does not describe every spectral characteristic, optical distribution, operating time, or habitat exposure.
The defensible procurement question is not “Which lamp is safe for amphibians?” It is “How does the proposed system minimize unnecessary exposure while meeting the documented task, and how will the team verify that result?”
Verify the installed condition at the wetland edge
Drawings and photometric files are important, but they are predictions. Installation height, aiming, shielding position, terrain, vegetation growth, pavement condition, and control programming can all change what occurs on site.
Commission for spill, glare, aiming, and controls
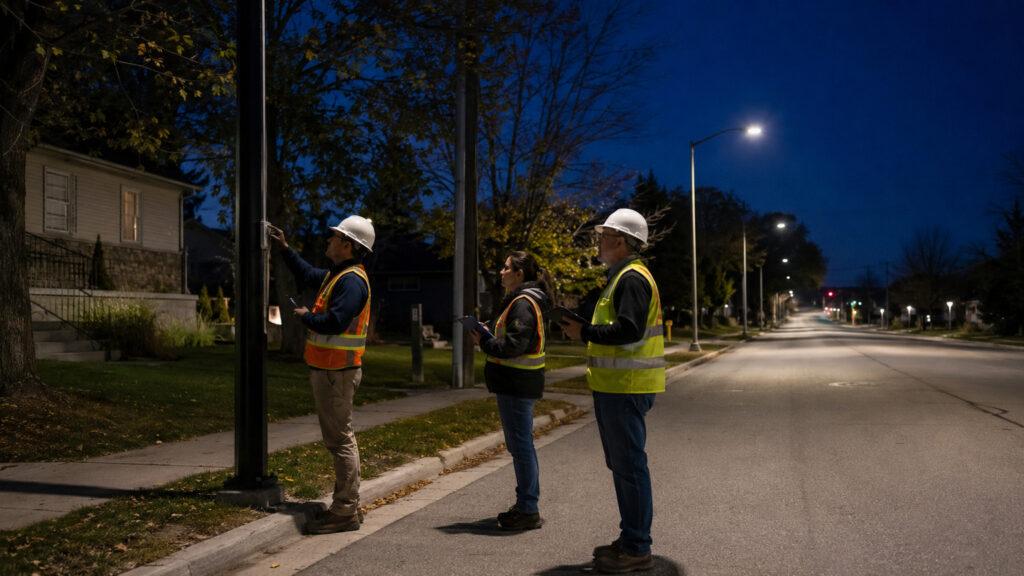
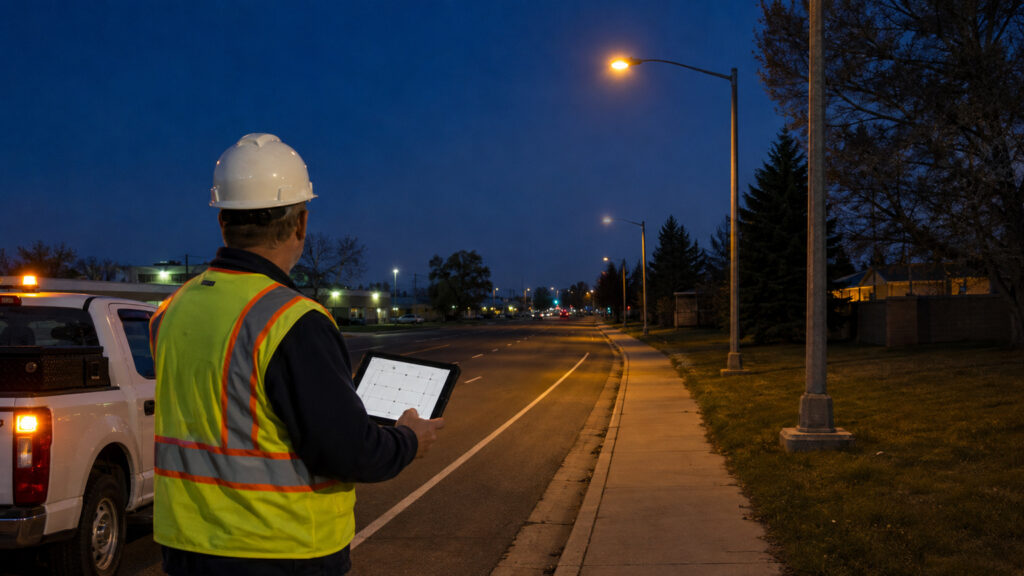
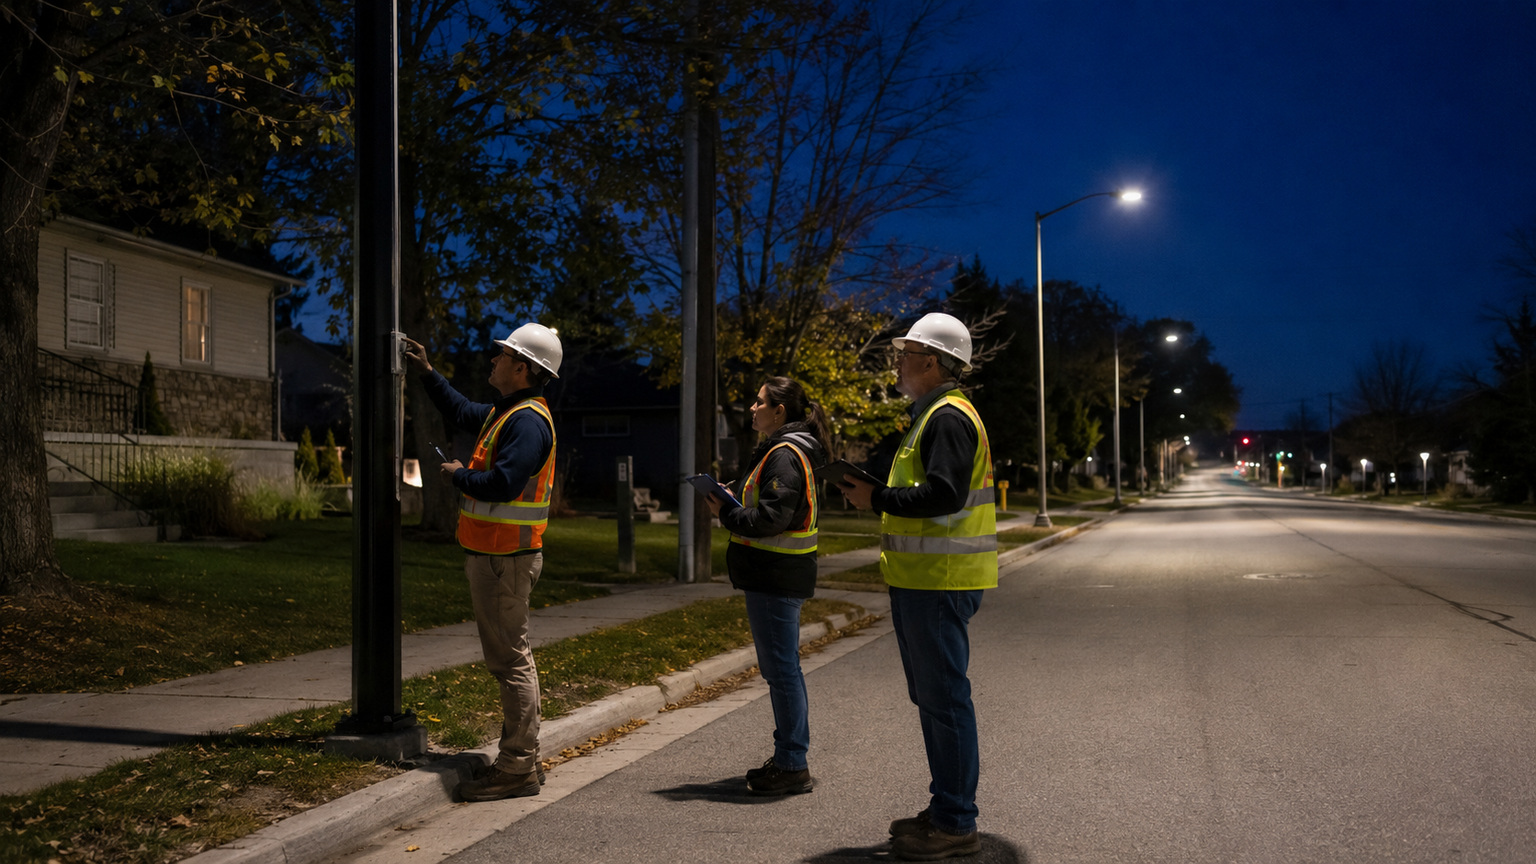
Commissioning should include a nighttime field check from the task area and from relevant habitat-facing locations. Confirm the luminaire is aimed and shielded as designed, assess visible spill and glare, and verify that dimming or scheduling operates at the intended times. Record what is observed, what is measured under the project method, and any adjustment made.
For a larger or sensitive project, establish in advance who attends the review, what conditions are documented, and how changes are approved. The purpose is not to certify ecological safety from one visit. It is to catch avoidable spill, incorrect aiming, or control failures before they become a persistent condition.
Monitor during relevant conditions
Monitoring should be proportionate to project scale and ecological sensitivity. It may include periodic nighttime inspections, checks after vegetation or site changes, review during a relevant seasonal period, or a more formal ecological monitoring plan where required. The agency, project ecologist, and permitting authority should determine what is appropriate.
If the project changes, revisit the lighting. A new access route, expanded operating hours, altered canopy, maintenance replacement, or changed control schedule can change exposure even if the original installation was acceptable for its initial task.
A procurement checklist for amphibian-sensitive projects
Use this checklist to make the design reviewable and maintainable:
- Documented lighting purpose: State the task, users, operating conditions, and why alternatives were not selected.
- Habitat and constraint map: Show water, wetland vegetation, adjacent habitat, existing lights, and the project boundary.
- Lighting containment review: Include photometry, aiming, shielding, mounting, and expected spill paths.
- Output and control rationale: Explain the minimum justified operating condition and the schedule, dimming, or activation logic.
- Spectrum review: Record how spectrum was considered with qualified ecological input, without presenting it as a universal solution.
- Commissioning requirement: Identify nighttime inspection, acceptance documentation, adjustment authority, and control testing.
- Monitoring and change process: Define when the site will be rechecked and how ecological, operational, and permitting feedback is incorporated.
This checklist supports due diligence; it does not replace a lighting design, environmental review, biological survey, or permit consultation.
Frequently asked questions
Is there one best color of light for amphibians?
No. Available evidence does not support a universal, species-safe color choice for every wetland. Spectrum can be evaluated as part of a design that also limits unnecessary light, direct spill, brightness, and operating time. Use site- and species-specific ecological input before making a selection.
Does shielding eliminate ecological risk?
No. Shielding can help contain direct light and reduce glare, but reflected light, aiming errors, operating time, and surrounding conditions still matter. Verify the installed condition from habitat-facing locations rather than relying on the fixture description alone.
When should a project involve a wildlife biologist or resource agency?
Involve them early when lighting may affect wetlands, waterways, known breeding areas, mapped habitat, or a project with environmental-review or permitting obligations. They can help define what information, seasonal context, and monitoring are appropriate for the jurisdiction and site.
What should a wetland-lighting commissioning check include?
At minimum, confirm installed location, aiming, shielding, visible spill, glare, and control schedules against the approved design. Document the inspection method and any corrections. Additional measurement or ecological monitoring should be determined by the project’s qualified reviewers and applicable requirements.
Make the lighting decision reviewable.
Near wetlands and breeding habitat, the most defensible approach is to document the need for light, contain it to the task, and verify the installed condition. The result should be a record that engineers, operations staff, ecologists, and permitting authorities can evaluate: what the light is for, where it is directed, when it operates, how it was commissioned, and when it will be reviewed again.
That record matters when conditions change. A replacement luminaire, a revised operating schedule, new vegetation, or a changed access pattern can alter the real exposure at the wetland edge. Site-specific ecological and regulatory review should determine the details that a general design guide cannot.
References
- PubMed, PubMed record for Dias and colleagues; accessed July 29, 2026.
- PubMed Central, PubMed Central; accessed July 29, 2026.
- U.S. Geological Survey, USGS publication record; accessed July 29, 2026.
- DarkSky International, Five Principles for Responsible Outdoor Lighting; accessed July 29, 2026.